Free Choreography #5

fullsizeoutput_1e69

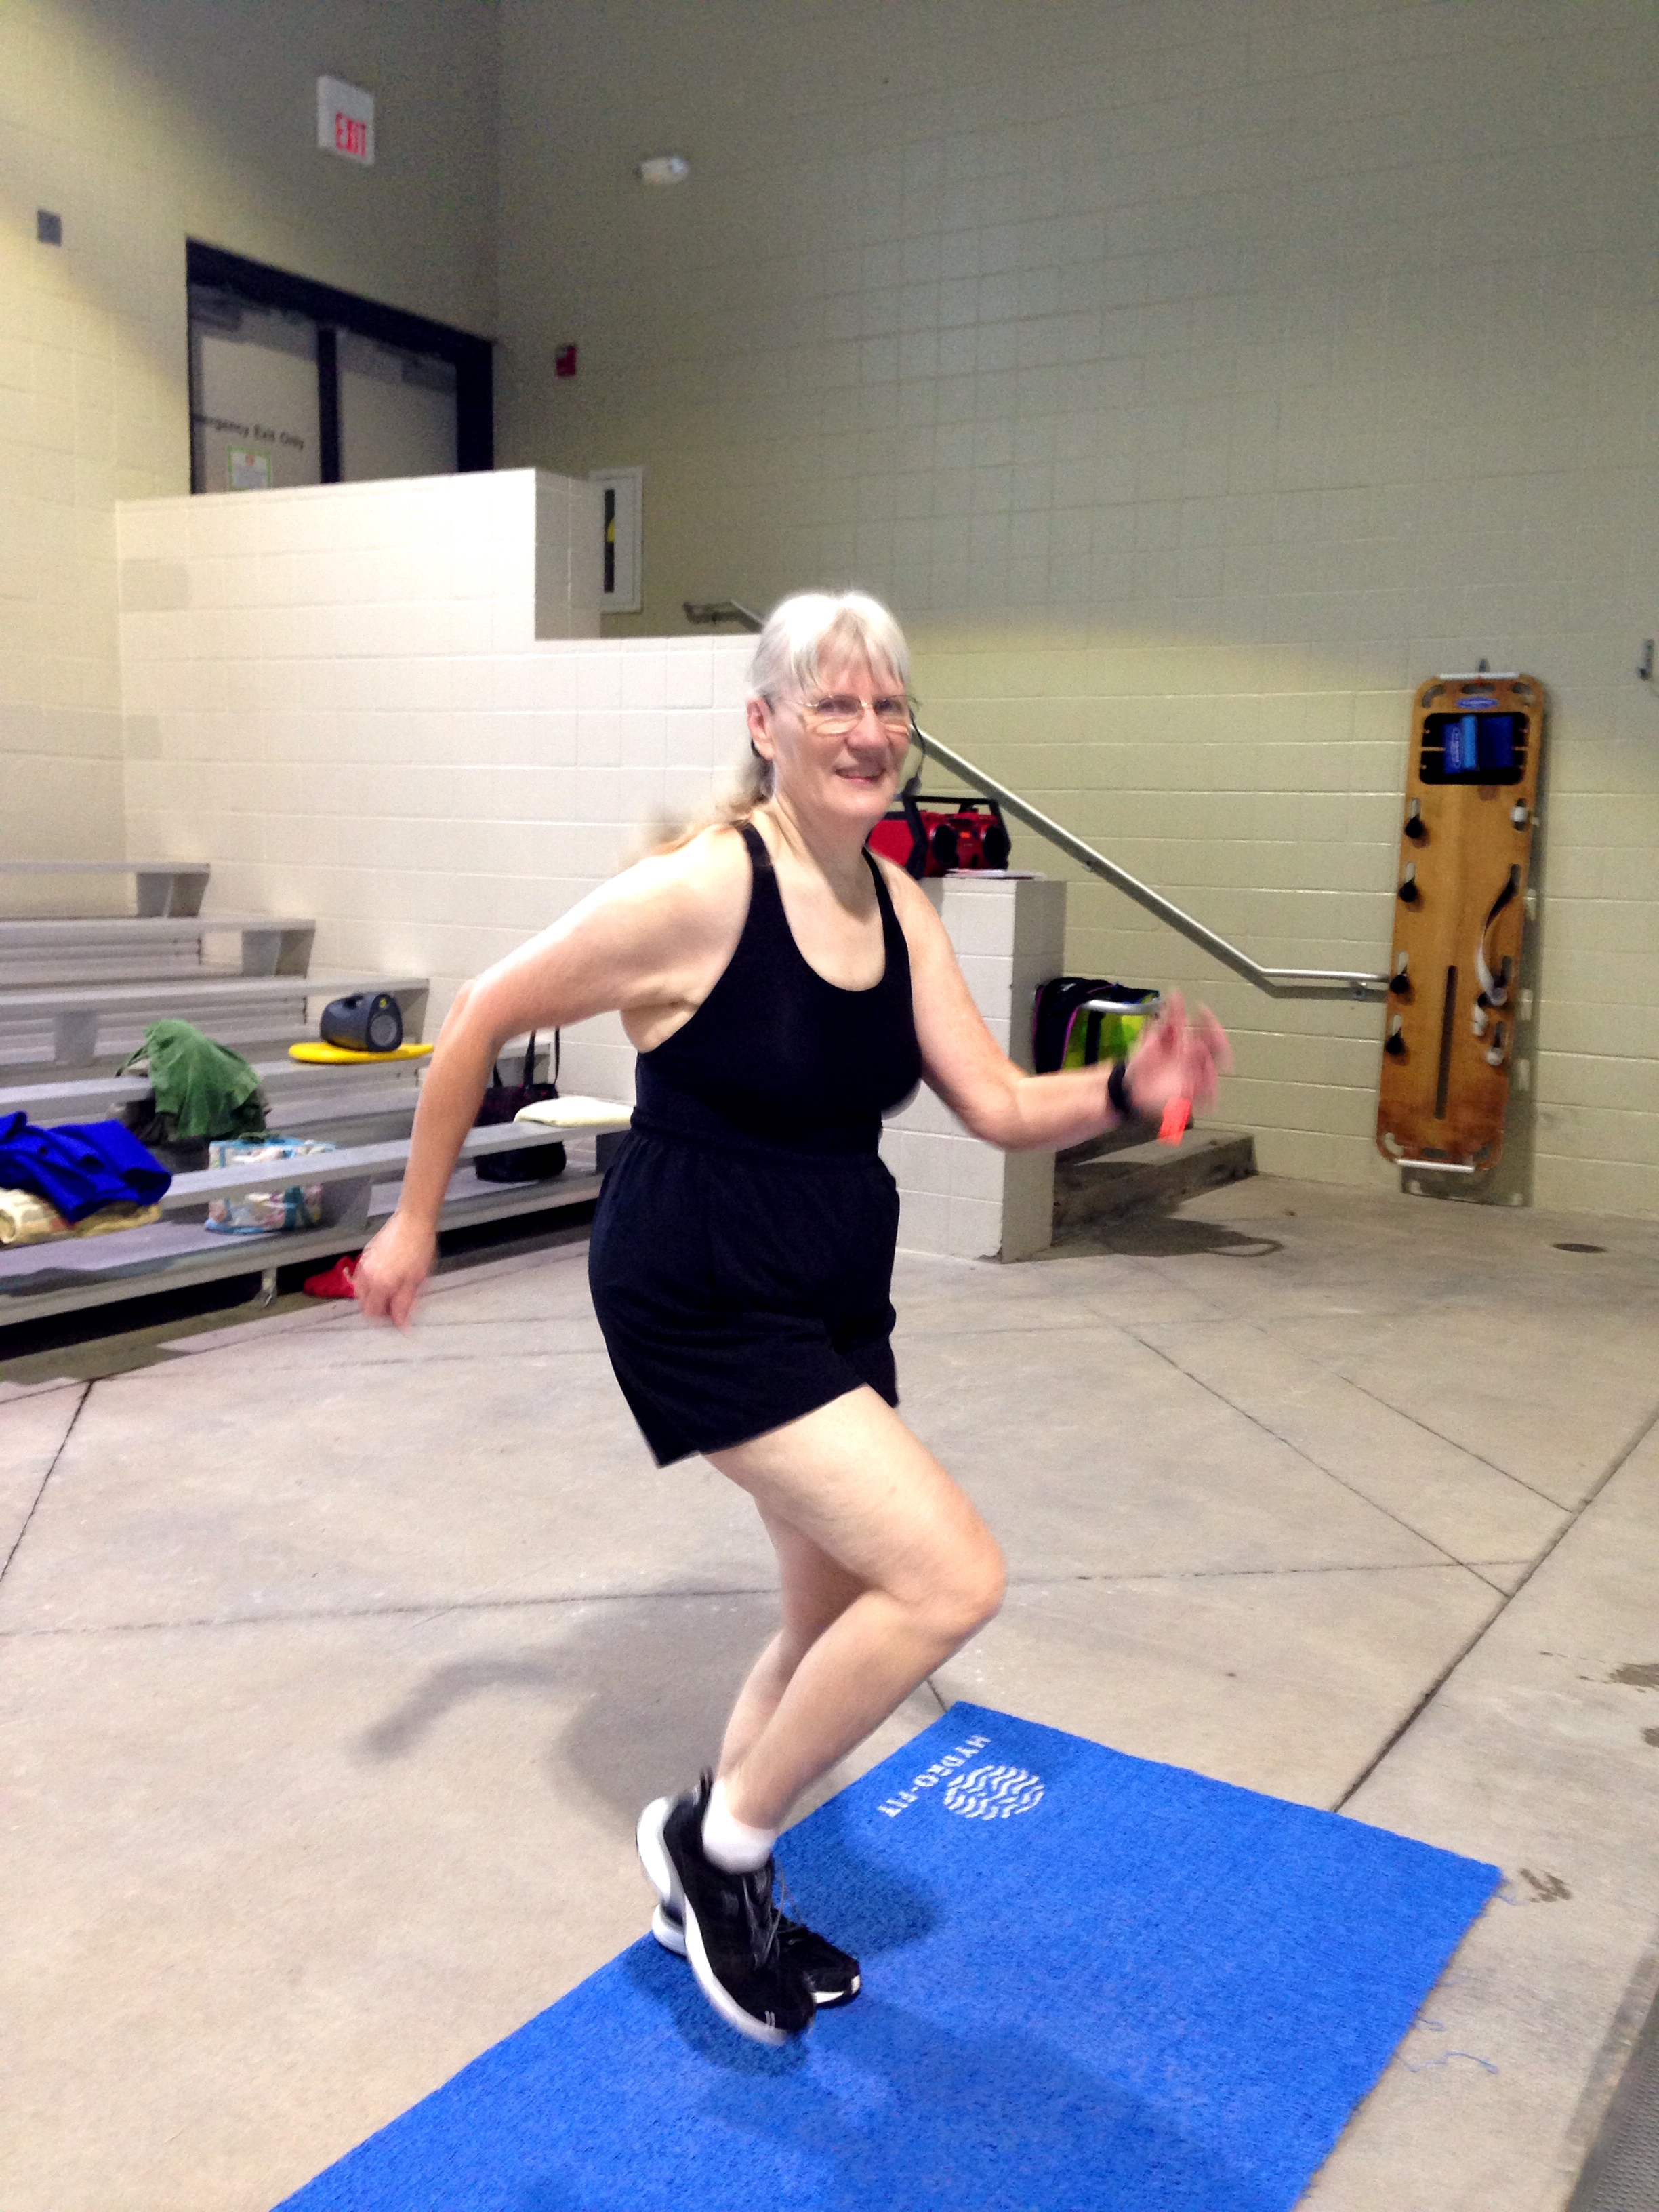
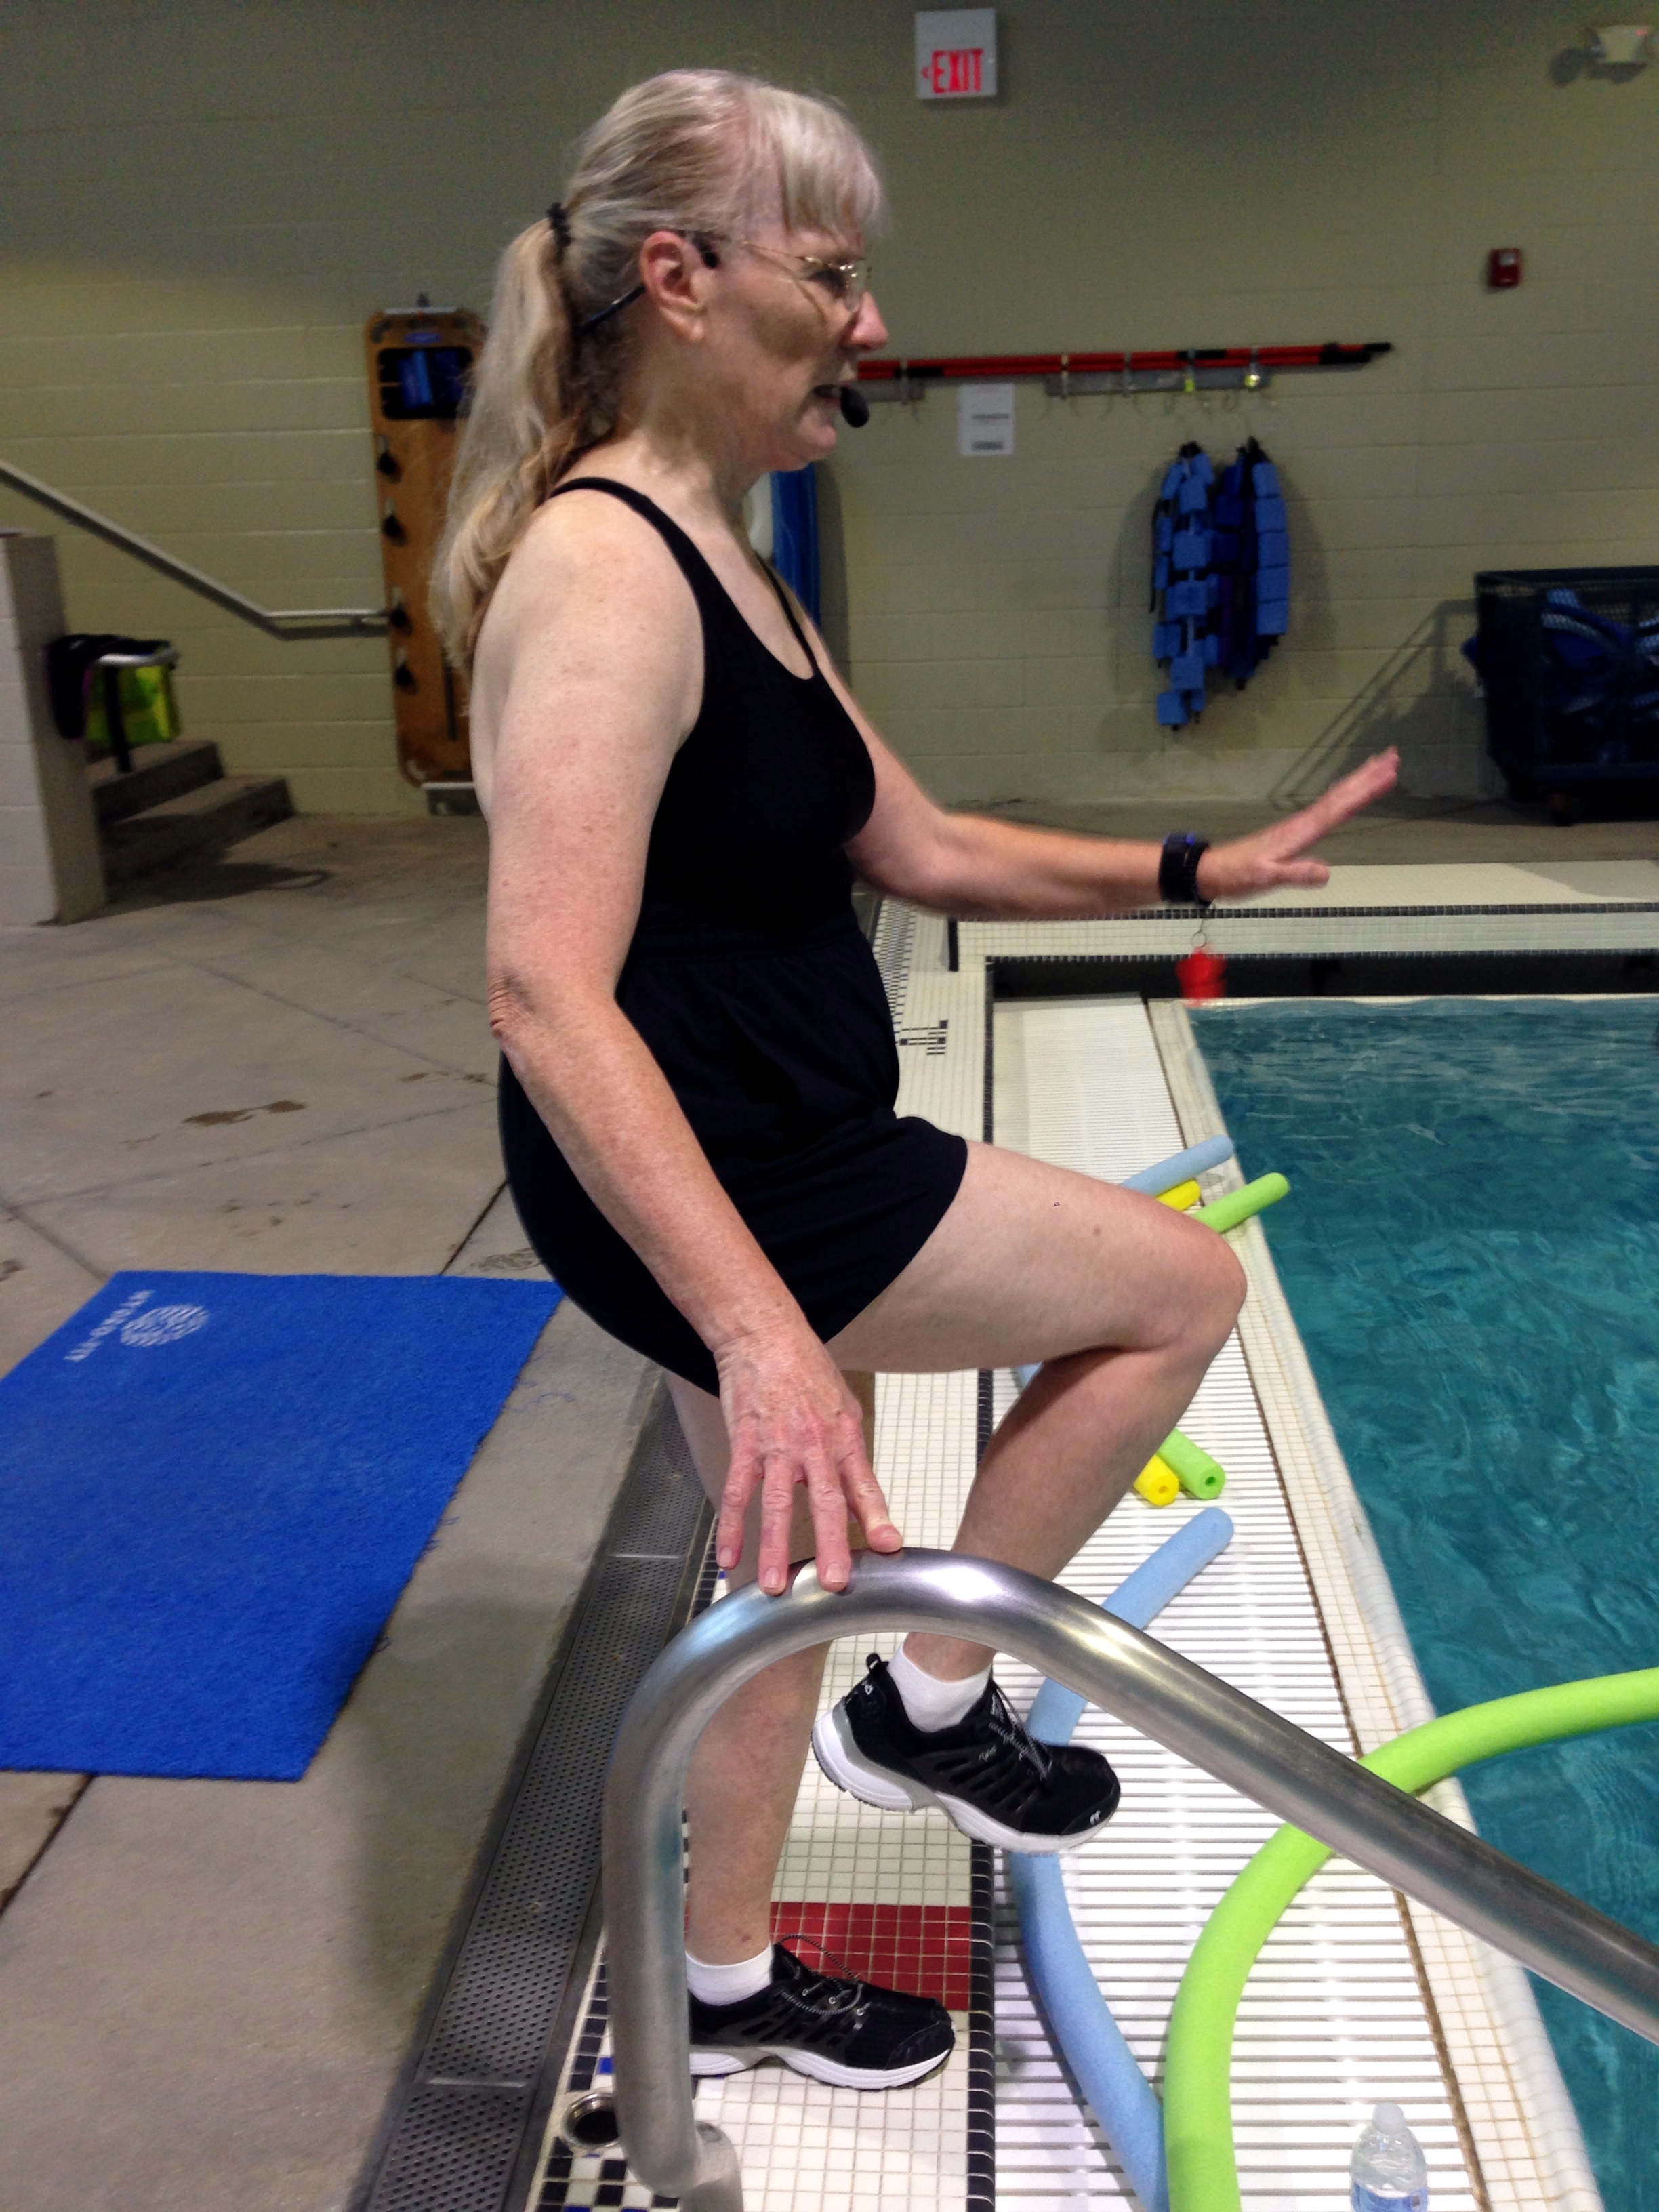
This is the fifth in a series of Blog posts on choreography. Your choreography is your lesson plan. It is helpful to have a lesson plan before you start teaching your class. If you write down your lesson plans, you will eventually end up with your own choreography library that you can refer to as often as you choose. Including a variety of choreography styles in your lesson plan library will set you apart from other instructors who may have a single technique that they tend to repeat over and over again. Your participants will definitely appreciate the variety.

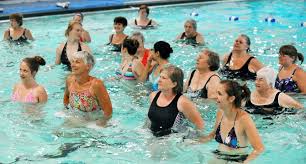
Previous Blog posts featured samples of linear choreography, pyramid choreography, add-on choreography, and the layer technique. This Blog post is about block choreography. Block choreography is my personal favorite because it is so versatile. It can be as simple or as complex as you want. Let’s start out simply, using the same set of 6 basic exercises I used in all the previous choreography samples. The 6 exercises transition easily from one to the next. The exercises are:

  1. Knee-high jog
  2. Run tires (like running through tires at football practice)
  3. Jumping jacks
  4. Cross-country ski
  5. Kick forward
  6. Heel jog

These 6 exercises comprise your first set. In each succeeding set you change something about the exercises. In this example I will change the arm movements, add travel, increase the range of motion, change the impact option, cross the midline of the body and combine two moves.

Change the arm movements:

  1. Knee-high jog with pumping arms
  2. Run tires with shoulder blade squeeze
  3. Jumping jacks clap hands
  4. Cross-country ski with windshield wiper arms
  5. Kick forward with triceps extension
  6. Heel jog with rotator cuff sweep

Add travel:

  1. Knee-high jog travel backward
  2. Run tires travel forward
  3. Jumping jacks travel backward
  4. Cross-country ski travel forward
  5. Kick forward travel backward
  6. Heel jog travel forward

Increase the range of motion:

  1. Leap forward
  2. Leap sideways
  3. Jumping jacks with arms out of the water
  4. Cross-country ski with full range of motion
  5. High kick
  6. Skate kick

Change the impact option:

  1. Bicycle suspended
  2. Frog jump neutral position
  3. Jacks tuck
  4. Tuck ski
  5. Seated kick suspended, emphasize quads
  6. Seated kick suspended, emphasize hamstrings

Cross the mid-line of the body:

  1. Crossover knees
  2. Inner thigh lift
  3. Jacks cross
  4. Cross-country ski with rotation
  5. Crossover kick
  6. Hopscotch

Combine two moves:

  1. In, in, out, out
  2. Ski-jacks combo (ski, ski, jack, together)
  3. One leg kicks forward & back

You can probably think of more ways to vary these 6 exercises on your own. This is simple block choreography. So how do you make it more complex? That will be in my next Blog post!

See you in the pool!

IMG_4509

Free Choreography #4

IMG_4479

This is the fourth in a series of Blog posts on choreography. For our purposes, I use the terms choreography and lesson plan interchangeably. Being able to use a variety of choreography styles will make your classes more interesting for yourself and your participants.  Writing down your lesson plans ahead of time will mean that you come to your class fully prepared, plus you will be able to use your choreography again later on.

Previous Blog posts featured samples of linear choreography, pyramid choreography and add-on choreography. This Blog post is about the layer technique. To use the layer technique, you begin with a set of basic exercises, then you repeat all of the exercises except for one. Substitute a different exercise for that one. For the next set, repeat all of the exercises including the new one, but now replace another exercise with a new exercise. You will keep changing one exercise in the set as you progress.

The following example will use the same 6 basic exercises as the previous choreography samples. The 6 exercises transition easily from one to the next. The exercises are:

  1. Knee-high jog
  2. Run tires (like running through tires at football practice)
  3. Jumping jacks
  4. Cross-country ski
  5. Kick forward
  6. Heel jog
  • (A set)
  • Knee-high jog with pumping arms
  • Run tires with shoulder blade squeeze
  • Jumping jacks clap hands
  • Cross-country ski
  • Kick forward with triceps extension
  • Heel jog with rotator cuff sweep
  • (B set)
  • Knee-high jog with pumping arms
  • Run tires with shoulder blade squeeze
  • Jumping jacks clap hands
  • Cross-country ski
  • Kick forward with triceps extension
  • Hopscotch doubles
  • (C set)
  • Knee-high jog with pumping arms
  • Run tires with shoulder blade squeeze
  • Jumping jacks clap hands
  • Cross-country ski
  • High kick 3X, skate kick 1X
  • Hopscotch doubles
  • (D set)
  • Knee-high jog with pumping arms
  • Run tires with shoulder blade squeeze
  • Jumping jacks clap hands
  • Cross-country ski & tuck ski alternate
  • High kick 3X, skate kick 1X
  • Hopscotch doubles
  • (E set)
  • Knee-high jog with pumping arms
  • Run tires with shoulder blade squeeze
  • Jumping jacks, clap hands & lat pull-down alternate
  • Cross-country ski & tuck ski alternate
  • High kick 3X, skate kick 1X
  • Hopscotch doubles
  • (F set)
  • Knee-high jog with pumping arms
  • Frog jump with double-arm press-down
  • Jumping jacks, clap hands & lat pull-down alternate
  • Cross-country ski & tuck ski alternate
  • High kick 3X, skate kick 1X
  • Hopscotch doubles
  • (G set)
  • Tuck jump
  • Frog jump with double-arm press-down
  • Jumping jacks, clap hands & lat pull-down alternate
  • Cross-country ski & tuck ski alternate
  • High kick 3X, skate kick 1X
  • Hopscotch doubles

You can now peel back the layers by working your way backward from F set to end up with your original A set. Add a warm-up and 5 minutes of stretching at the end and your choreography is ready to go.

Next Blog post: Block Choreography.

See you in the pool!

IMG_4509

Free Choreography #3

Shallow water class

This is the third in a series of Blog posts on choreography. As you are already aware, your choreography is your lesson plan. Preparing a lesson plan ahead of time allows you to teach your class with confidence because you will always know what is coming next.

Previous Blog posts featured samples of linear choreography and pyramid choreography. This Blog post is about add-on choreography.  The simplest way to create add-on choreography is to start with one exercise and follow it with a second exercise. Next you repeat the first exercise, repeat the second exercise and add on a third exercise. You continue to repeat and add on new exercises until your class time is up. The problem with doing it that way is that you will repeat your first two exercises many times, and by the time you get to the end of class, both you and your participants will be sick of those exercises.

So to reduce the number of repetitions of a single exercise and make the choreography more interesting, use sets of exercises. Start with a set of 4-6 exercises and follow it with a second set of 4-6 exercises. Repeat the first set and the second set and add on a third set. Continue to repeat and add on new sets until your class time is up.

The following example will use the same 6 basic exercises as the previous choreography samples. The 6 exercises are:

  1. Knee-high jog
  2. Run tires (like running through tires at football practice)
  3. Jumping jacks
  4. Cross-country ski
  5. Kick forward
  6. Heel jog

These exercises in this order transition easily from one to the next. Each set will be based on one of these exercises with variations. Make your first two sets moderately intense and the next three sets more intense. The last set should be easier to allow your participants to start cooling down.

  • (A set)
  • Knee-high jog with jog press
  • Knee-high jog with breaststroke travel backward
  • Leap forward
  • Knee-high jog faster
  • (B set)
  • Run tires push forward
  • Run tires push across
  • Frog jump
  • Squat & hop

Repeat A set, repeat B set

  • (C set)
  • Jumping jacks
  • Jumping jacks with a diagonal turn
  • Jumping jacks, one arm crosses front & one arm crosses back
  • Jumping jacks clap hands travel backward & forward

Repeat A set, repeat B set, repeat C set

  • (D set)
  • Cross-country ski
  • Tuck ski
  • Cross-country ski suspended
  • Cross-country ski with unison arm swing

Repeat A set, repeat B set, repeat C set, repeat D set

  • (E set)
  • Kick forward with double-arm press-down
  • Kick & lunge R, arms sweep R
  • High kick
  • Kick & lunge L, arms sweep L

Repeat A set, repeat B set, repeat C set, repeat D set, repeat E set

  • (F set)
  • Heel jog
  • Hitchhike
  • Hopscotch
  • Heel jog with triceps extension travel backwards & forwards

Now add a warm up at the beginning of class and finish your cool down with some core strength work. Add 5 minutes of stretching and you’ve got a plan.

For more examples of add-on choreography, see my book Water Fitness Lesson Plans and Choreography. You can find a link to the publisher on my website at www.waterfitnesslessons.com

I am presenting a workshop in Plano, Texas on October 1, 2016 that will include sample choreography for a Periodization program. The workshop is called Working toward Peak Fitness. For more information, check out the Calendar on the Metroplex Association of Aquatic Professionals website at www.maapdfw.com

Next Blog post: Layer technique.

See you in the pool!

IMG_4509

Chris


Free Choreography #1

IMG_4483

The term choreography calls to mind dancers performing on a stage or in a music video. So using the term for a water fitness class may seem intimidating. But it does not have to be complicated. Basically, choreography is your lesson plan. Writing choreography involves taking your list of exercises and organizing them in the order in which you plan to teach them. Your class will be more successful if you make a plan ahead of time so that you don’t find yourself struggling to come up with exercises to fill the time.

To help you remember your choreography you need to organize the exercises in a way that is logical to you. There are a variety of choreography styles that can be used to help you do this. The simplest is linear choreography. Linear choreography organizes the exercises in a “line,” that is, without patterns or repetitions.

The following is an example of linear choreography for a shallow-water class using just 6 basic exercises with variations. The 6 exercises are:

  1. Knee-high jog
  2. Run tires (like running through tires at football practice)
  3. Jumping jacks
  4. Cross-country ski
  5. Kick forward
  6. Heel jog

The logic of using the exercises in this order is that it is easy to transition from one to the next. From the knee-high jog you move the legs farther apart to go into running tires. Next you bounce center and apart in jumping jacks. From the center bounce you transition into cross-country ski. Stay in the sagittal plane to go into a kick forward. Finally switch the leg movement from front to back in a heel jog.

Breaking up the choreography into sets divides it into sections that are easier to remember than a long chain of exercises. In this case each set will feature one of the six exercises.

  • (A set)
  • Knee-high jog with jog press
  • Knee-high jog with pumping arms
  • Knee-high jog faster & slower alternate
  • Leap forward
  • (B set)
  • Run tires with scull
  • Run tires with shoulder blade squeeze
  • Run tires with rebound & neutral position alternate
  • Leap sideways
  • (C set)
  • Jumping jacks
  • Jumping jacks clap hands
  • Jumping jacks neutral position & suspended alternate
  • Jumping jacks 4X with 1/4 turn
  • (D set)
  • Cross-country ski
  • Cross-country ski with windshield wiper arms
  • Cross-country ski & cross-country ski with power alternate
  • Cross-country ski 3-1/2X & 1/2 turn
  • (E set)
  • Kick forward push forward
  • Kick forward with triceps extension
  • Kick forward low & high alternate
  • Kick forward travel backward in a circle
  • (F set)
  • Heel jog with paddlewheel
  • Heel jog with forearm press
  • Heel jog & hopscotch alternate
  • Skip rope travel forward in a circle

This should take approximately 20 minutes. Repeat the choreography a second time. Add a 5-minute warm at the beginning, 10 minutes of noodle exercises afterwards, and 5-minutes of stretching and you have a 1-hour lesson plan ready to go.

For more examples of linear choreography, see my book Water Fitness Lesson Plans and Choreography. A link to purchase the book from Human Kinetics can be found on my website at www.waterfitnesslessons.com

Next Blog post: Pyramid Choreography.

See you in the pool!

IMG_4509