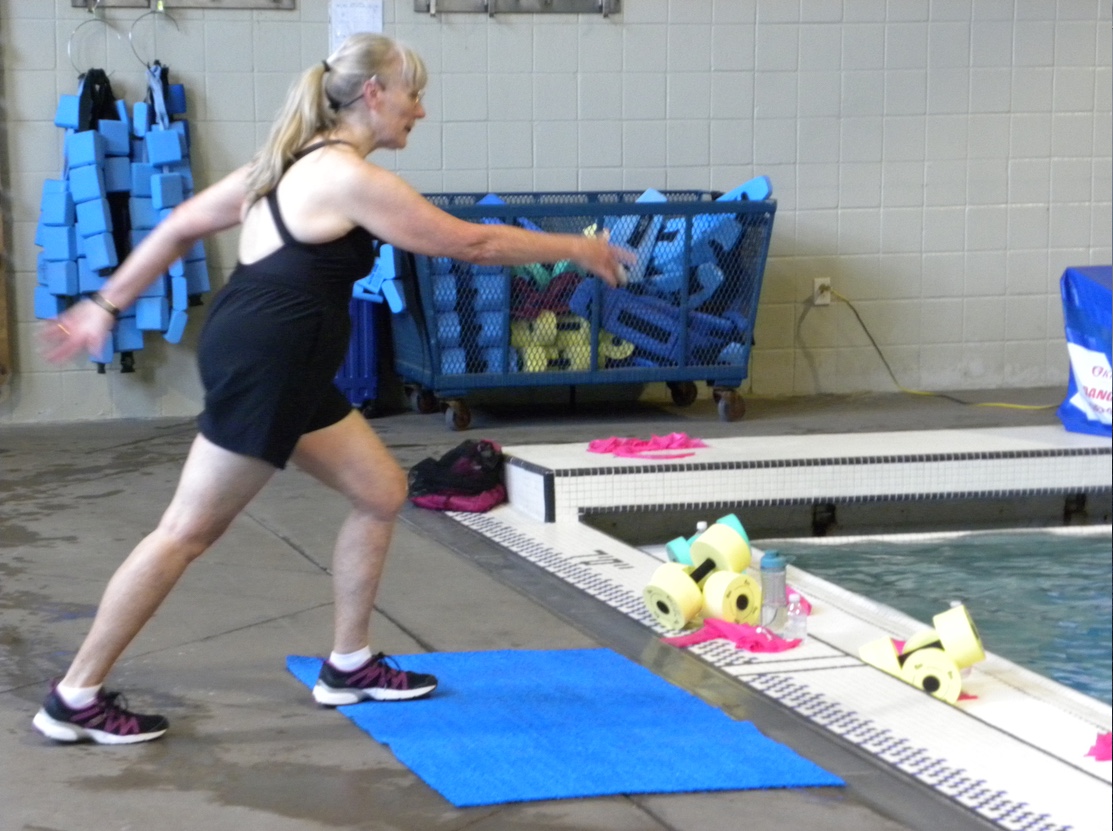
Water Fitness Instructors Are Needed

fullsizeoutput_1e6d

Do you take a water fitness class? Do you like to be in the front of the class so that you always know what is going on? Do you like helping new participants feel comfortable in class? Are you naturally outgoing? Have you thought about becoming a water fitness instructor?

I’d like to invite you to take my Water Fitness Instructor Basic Training class. It is being offered on October 21 and 28 from 10:00 AM – 2:30 PM at the McKinney Senior Pool, 1400 South College Street, McKinney, Texas 75069. Participants need to attend both days. It is an opportunity for you to learn what is required in order to teach a water fitness class. You will not have a certification at the end of class, but you will have a foundation to begin working toward a certification.

We spend a good portion of the first day on anatomy. It is important to know something about the muscles and to be familiar with movement terminology so that you will know what muscles you are using in any given exercise. That way you can plan a well-balanced water fitness class for your participants. The second day includes an open-book quiz to give you practice in using a chart to figure out what muscles you are using in a variety of exercises.

We cover good body alignment, because neutral posture is important for safe exercise. We talk about the fitness recommendations of the American College of Sports Medicine. You will learn ways to judge whether you are working in your target heart rate zone. Since you are exercising in water, you also need to know the properties of water that make water fitness different from land exercise.

Of course we will talk about how to plan a water exercise class. You will learn what the parts of a class are, how to increase and decrease intensity, how to use various types of water fitness equipment safely, and a variety of choreography styles. I also spend some time on contraindications, things to avoid because they might lead to an injury later on. You get a list of websites where you can go for equipment, choreography ideas and music, plus information on how to get certified and how to get continuing education.

I teach a sample class on the first day. You can keep the lesson plan for your own use later on. On the second day, you teach a 5 to 8-minute sample class to give you practice cuing and demonstrating exercises. After that you can get on the sub list for the McKinney Senior Pool. Or you can get started on your certification, so that you will be qualified to teach at any facility you choose. To see a list of facilities in the Dallas area that are looking for instructors, check out the Jobs page of the website of the Metroplex Association of Aquatic Professionals at www.maapdfw.com

If this sounds like something you would like to do, you can register on the McKinney Parks and Recreation website at https://webtrac.mckinneytexas.org On the Home page click the Search button. On the drop down window click Activities. In the Type window click Aquatic Classes. The class is listed at the bottom of page 2. The cost is $60 for McKinney residents and $65 for non-residents. All materials for the class are provided. Click on the address of the pool above for a link to a map to the facility.

I hope to see you there!

IMG_4509

Chris Alexander

Free Choreography #6

fullsizeoutput_1e58   This is the sixth in a series of Blog posts on choreography. The last post described block choreography, which happens to be my favorite choreography style. I included a sample of simple block choreography, using 6 basic exercises.  The 6 exercises are:
  1. Knee-high jog
  2. Run tires (like running through tires at football practice)
  3. Jumping jacks
  4. Cross-country ski
  5. Kick forward
  6. Heel jog

Now I want to show you how to expand your blocks of choreography to make them more complex.

Use the same 6 exercises as before, adding  4 exercises to the beginning of the set. Change something about the 6 exercises in each succeeding set, but  repeat the 4 new exercises without change. How do you select the 4 exercises? Perhaps you would like to focus on upper body strength. Then you might choose:

  1. Lunge R with bowstring pull L
  2. Lunge L with bowstring pull R
  3. Lunge R with double-arm press-down
  4. Lunge L with lat pull-down

If you want to focus on flexibility, then you might choose some movements in a diagonal pattern:

  1. Jumping jacks cross hands over chest & bring arms down at sides
  2. Jumping jacks cross hands in front of thighs & bring arms out to sides
  3. Jumping jacks & inner thigh lift alternate
  4. Inner thigh lift

If you want to increase intensity, instead of adding 4 new exercises at the beginning, add a set of intervals at the end. Pick one of the 6 exercises and add an intensity variable such as speed, increased range of motion, or power for the work interval and then use the basic move for the recovery. For example:

  1. Work: jog faster 60 seconds
  2. Recovery: knee-high jog 30 seconds
  3. Work: knee lift & lunge R 30 seconds & L 30 seconds
  4. Recovery: Knee-high jog
  5. Work: Squat & jump 60 seconds
  6. Recovery: Knee-high jog 30 seconds

Another option is to insert 3 or 4 more variations of one of the 6 basic exercises in each set. Your first set might look something like this:

  1. Knee-high jog
  2. Knee-lift R, travel R
  3. Knee-lift L, travel L
  4. Jog syncopate
  5. Chorus line kick
  6. Run tires
  7. Jumping jacks
  8. Cross-country ski
  9. Kick forward
  10. Heel jog

For your second set, use your 6 basic moves with different arm movements, but insert 3 or 4 more variations of run tires, such as squat and lift one knee to the side, run tires syncopate, frog jump, and frog jump with a quarter turn. Continue to insert variations of the other basic exercises in each succeeding set.

In this series on choreography I have used 6 basic exercises to illustrate the different choreography styles, but you, of course, are free to choose any exercises you’d like. Writing choreography using these techniques will give you lesson plans that are easy to remember and enjoyable for your participants.

For more examples of block choreography and other choreography styles, see my book, Water Fitness Lesson Plans and Choreography. You can find a link to purchase the book on my website was www.waterfitnesslessons.com

IMG_4509

See you in the pool!

Chris Alexander


Free Choreography #5

fullsizeoutput_1e69

This is the fifth in a series of Blog posts on choreography. Your choreography is your lesson plan. It is helpful to have a lesson plan before you start teaching your class. If you write down your lesson plans, you will eventually end up with your own choreography library that you can refer to as often as you choose. Including a variety of choreography styles in your lesson plan library will set you apart from other instructors who may have a single technique that they tend to repeat over and over again. Your participants will definitely appreciate the variety.

Previous Blog posts featured samples of linear choreography, pyramid choreography, add-on choreography, and the layer technique. This Blog post is about block choreography. Block choreography is my personal favorite because it is so versatile. It can be as simple or as complex as you want. Let’s start out simply, using the same set of 6 basic exercises I used in all the previous choreography samples. The 6 exercises transition easily from one to the next. The exercises are:

  1. Knee-high jog
  2. Run tires (like running through tires at football practice)
  3. Jumping jacks
  4. Cross-country ski
  5. Kick forward
  6. Heel jog

These 6 exercises comprise your first set. In each succeeding set you change something about the exercises. In this example I will change the arm movements, add travel, increase the range of motion, change the impact option, cross the midline of the body and combine two moves.

Change the arm movements:

  1. Knee-high jog with pumping arms
  2. Run tires with shoulder blade squeeze
  3. Jumping jacks clap hands
  4. Cross-country ski with windshield wiper arms
  5. Kick forward with triceps extension
  6. Heel jog with rotator cuff sweep

Add travel:

  1. Knee-high jog travel backward
  2. Run tires travel forward
  3. Jumping jacks travel backward
  4. Cross-country ski travel forward
  5. Kick forward travel backward
  6. Heel jog travel forward

Increase the range of motion:

  1. Leap forward
  2. Leap sideways
  3. Jumping jacks with arms out of the water
  4. Cross-country ski with full range of motion
  5. High kick
  6. Skate kick

Change the impact option:

  1. Bicycle suspended
  2. Frog jump neutral position
  3. Jacks tuck
  4. Tuck ski
  5. Seated kick suspended, emphasize quads
  6. Seated kick suspended, emphasize hamstrings

Cross the mid-line of the body:

  1. Crossover knees
  2. Inner thigh lift
  3. Jacks cross
  4. Cross-country ski with rotation
  5. Crossover kick
  6. Hopscotch

Combine two moves:

  1. In, in, out, out
  2. Ski-jacks combo (ski, ski, jack, together)
  3. One leg kicks forward & back

You can probably think of more ways to vary these 6 exercises on your own. This is simple block choreography. So how do you make it more complex? That will be in my next Blog post!

See you in the pool!

IMG_4509

Free Choreography #4

IMG_4479

This is the fourth in a series of Blog posts on choreography. For our purposes, I use the terms choreography and lesson plan interchangeably. Being able to use a variety of choreography styles will make your classes more interesting for yourself and your participants.  Writing down your lesson plans ahead of time will mean that you come to your class fully prepared, plus you will be able to use your choreography again later on.

Previous Blog posts featured samples of linear choreography, pyramid choreography and add-on choreography. This Blog post is about the layer technique. To use the layer technique, you begin with a set of basic exercises, then you repeat all of the exercises except for one. Substitute a different exercise for that one. For the next set, repeat all of the exercises including the new one, but now replace another exercise with a new exercise. You will keep changing one exercise in the set as you progress.

The following example will use the same 6 basic exercises as the previous choreography samples. The 6 exercises transition easily from one to the next. The exercises are:

  1. Knee-high jog
  2. Run tires (like running through tires at football practice)
  3. Jumping jacks
  4. Cross-country ski
  5. Kick forward
  6. Heel jog
  • (A set)
  • Knee-high jog with pumping arms
  • Run tires with shoulder blade squeeze
  • Jumping jacks clap hands
  • Cross-country ski
  • Kick forward with triceps extension
  • Heel jog with rotator cuff sweep
  • (B set)
  • Knee-high jog with pumping arms
  • Run tires with shoulder blade squeeze
  • Jumping jacks clap hands
  • Cross-country ski
  • Kick forward with triceps extension
  • Hopscotch doubles
  • (C set)
  • Knee-high jog with pumping arms
  • Run tires with shoulder blade squeeze
  • Jumping jacks clap hands
  • Cross-country ski
  • High kick 3X, skate kick 1X
  • Hopscotch doubles
  • (D set)
  • Knee-high jog with pumping arms
  • Run tires with shoulder blade squeeze
  • Jumping jacks clap hands
  • Cross-country ski & tuck ski alternate
  • High kick 3X, skate kick 1X
  • Hopscotch doubles
  • (E set)
  • Knee-high jog with pumping arms
  • Run tires with shoulder blade squeeze
  • Jumping jacks, clap hands & lat pull-down alternate
  • Cross-country ski & tuck ski alternate
  • High kick 3X, skate kick 1X
  • Hopscotch doubles
  • (F set)
  • Knee-high jog with pumping arms
  • Frog jump with double-arm press-down
  • Jumping jacks, clap hands & lat pull-down alternate
  • Cross-country ski & tuck ski alternate
  • High kick 3X, skate kick 1X
  • Hopscotch doubles
  • (G set)
  • Tuck jump
  • Frog jump with double-arm press-down
  • Jumping jacks, clap hands & lat pull-down alternate
  • Cross-country ski & tuck ski alternate
  • High kick 3X, skate kick 1X
  • Hopscotch doubles

You can now peel back the layers by working your way backward from F set to end up with your original A set. Add a warm-up and 5 minutes of stretching at the end and your choreography is ready to go.

Next Blog post: Block Choreography.

See you in the pool!

IMG_4509

Free Choreography #3

Shallow water class

This is the third in a series of Blog posts on choreography. As you are already aware, your choreography is your lesson plan. Preparing a lesson plan ahead of time allows you to teach your class with confidence because you will always know what is coming next.

Previous Blog posts featured samples of linear choreography and pyramid choreography. This Blog post is about add-on choreography.  The simplest way to create add-on choreography is to start with one exercise and follow it with a second exercise. Next you repeat the first exercise, repeat the second exercise and add on a third exercise. You continue to repeat and add on new exercises until your class time is up. The problem with doing it that way is that you will repeat your first two exercises many times, and by the time you get to the end of class, both you and your participants will be sick of those exercises.

So to reduce the number of repetitions of a single exercise and make the choreography more interesting, use sets of exercises. Start with a set of 4-6 exercises and follow it with a second set of 4-6 exercises. Repeat the first set and the second set and add on a third set. Continue to repeat and add on new sets until your class time is up.

The following example will use the same 6 basic exercises as the previous choreography samples. The 6 exercises are:

  1. Knee-high jog
  2. Run tires (like running through tires at football practice)
  3. Jumping jacks
  4. Cross-country ski
  5. Kick forward
  6. Heel jog

These exercises in this order transition easily from one to the next. Each set will be based on one of these exercises with variations. Make your first two sets moderately intense and the next three sets more intense. The last set should be easier to allow your participants to start cooling down.

  • (A set)
  • Knee-high jog with jog press
  • Knee-high jog with breaststroke travel backward
  • Leap forward
  • Knee-high jog faster
  • (B set)
  • Run tires push forward
  • Run tires push across
  • Frog jump
  • Squat & hop

Repeat A set, repeat B set

  • (C set)
  • Jumping jacks
  • Jumping jacks with a diagonal turn
  • Jumping jacks, one arm crosses front & one arm crosses back
  • Jumping jacks clap hands travel backward & forward

Repeat A set, repeat B set, repeat C set

  • (D set)
  • Cross-country ski
  • Tuck ski
  • Cross-country ski suspended
  • Cross-country ski with unison arm swing

Repeat A set, repeat B set, repeat C set, repeat D set

  • (E set)
  • Kick forward with double-arm press-down
  • Kick & lunge R, arms sweep R
  • High kick
  • Kick & lunge L, arms sweep L

Repeat A set, repeat B set, repeat C set, repeat D set, repeat E set

  • (F set)
  • Heel jog
  • Hitchhike
  • Hopscotch
  • Heel jog with triceps extension travel backwards & forwards

Now add a warm up at the beginning of class and finish your cool down with some core strength work. Add 5 minutes of stretching and you’ve got a plan.

For more examples of add-on choreography, see my book Water Fitness Lesson Plans and Choreography. You can find a link to the publisher on my website at www.waterfitnesslessons.com

I am presenting a workshop in Plano, Texas on October 1, 2016 that will include sample choreography for a Periodization program. The workshop is called Working toward Peak Fitness. For more information, check out the Calendar on the Metroplex Association of Aquatic Professionals website at www.maapdfw.com

Next Blog post: Layer technique.

See you in the pool!

IMG_4509

Chris