 The Metroplex Association of Aquatic Professionals (MAAP) offers two continuing education trainings a year. Over the years, Meridan Zerner, MS, RD, CSSD, LD, a dietician with the Cooper Institute, has been the presenter twice. I like Ms. Zerner very much because her health and nutrition advice is easy to understand and follow. I pass the information that I got from her lectures on to my classes in my Tips for the Day.
The American College of Sports Medicine (ACSM) recommends that all adults get at least 150 minutes of moderate-intensity cardiorespiratory exercise a week for good health. You could exercise at a moderate intensity 30-60 minutes a day 5 days a week, or at a vigorous intensity 20-60 minutes a day 3 days a week. In addition they recommend that you do resistance exercises 2-3 days a week and flexibility exercises (stretches) 2-3 days a week.
Ms. Zerner said that the average 50-year-old woman who weighs the same as when she was 20, requires one fourth to one third fewer calories to maintain her weight. That’s why people tend to gain weight as they age. It’s a worthy goal to not gain any more weight. To prevent weight gain, ACSM says that you should get 150-250 minutes of moderate-intensity cardiorespiratory exercise a week. That’s an extra 100 minutes of exercise per week. There are health benefits to losing as little as 10% of your body weight. If your goal is weight loss, then you have to exercise more than 250 minutes a week. And once you lose the weight, you need to continue to get more than 250 minutes of moderate intensity cardiorespiratory exercise every week to prevent the weight from coming back. If that sounds daunting, it’s because it is!
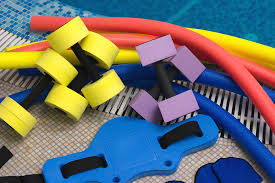
Ms. Zerner says that a better plan than exercise alone is to combine diet and exercise. If you just diet, 25% of the weight you lose will be lean muscle. If you diet and do cardiorespiratory exercise, less of the weight lost will be lean muscle. Add in some resistance exercise and you will not lose – and you may even gain – muscle mass. A good way to combine cardiorespiratory and resistance exercise is to work out in the pool, performing the exercises with power in order to take advantage of the water’s resistance.
Recent research shows that weight loss is not easy, as if we didn’t know that already. A deficit of 3500 calories does not equal a pound lost as was commonly thought. But it’s still fewer calories in than calories out. So eat less. Every meal. Drink water. Cook because then you control what goes in your food. And get exercise every day.
See you in the pool!

Chris Alexander
 Water exercise has many benefits, some of which were highlighted in my last Blog post. In this post I would like to focus on the benefits for your heart.
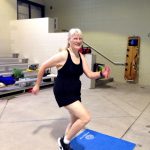
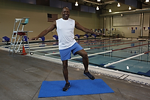
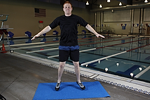
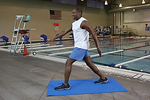
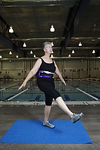
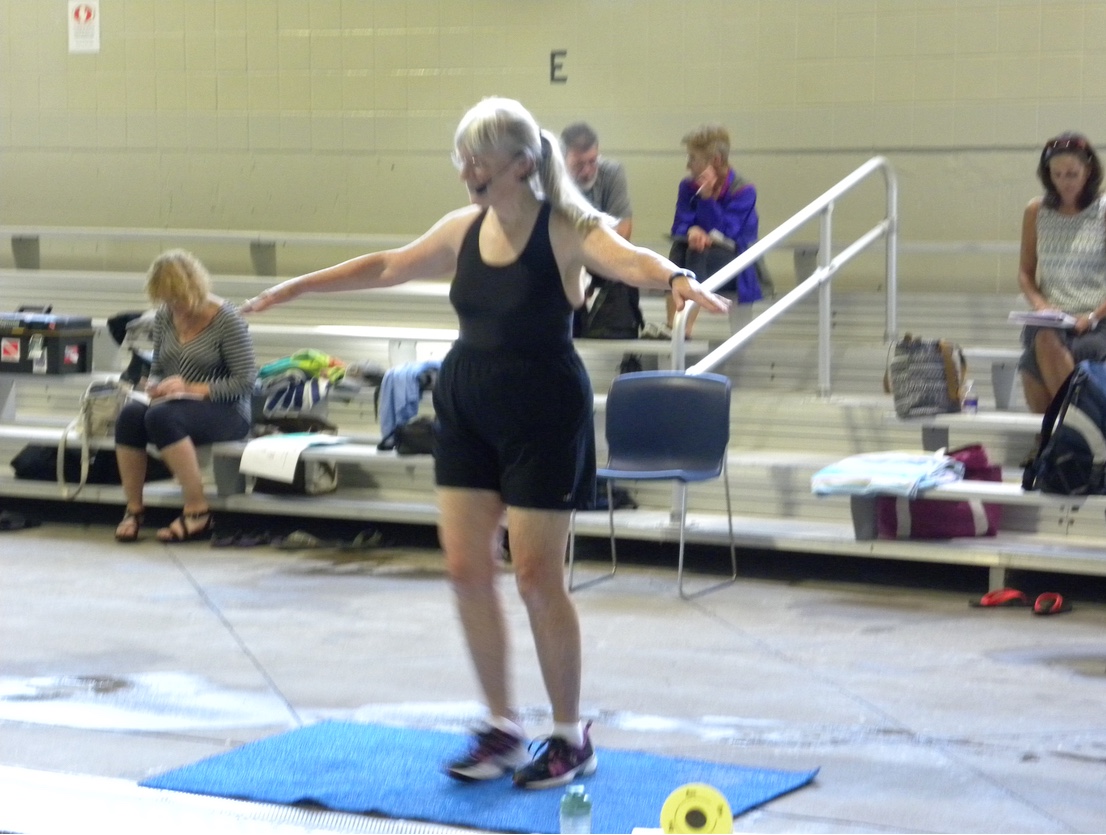 This is the sixth in a series of Blog posts on choreography. The last post described block choreography, which happens to be my favorite choreography style. I included a sample of simple block choreography, using 6 basic exercises. The 6 exercises are: