Now What?

My last 4 blog postings have been about building your exercise library. And if you are exercising in the pool on your own or teaching a water fitness class, it is important to build your exercise library. But how do you put it all together into a workout? You could just get in the pool and start doing whatever exercise comes to mind. Would there be a problem with doing the deep water exercises in the order of the pictures below?

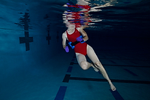
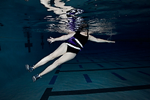
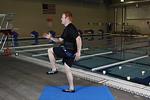
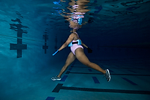
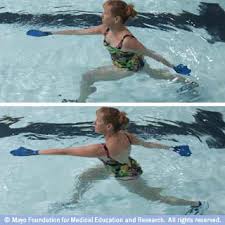
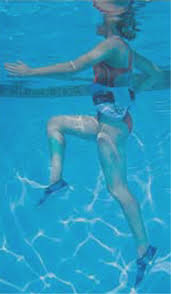
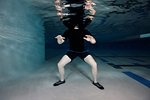
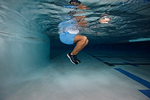
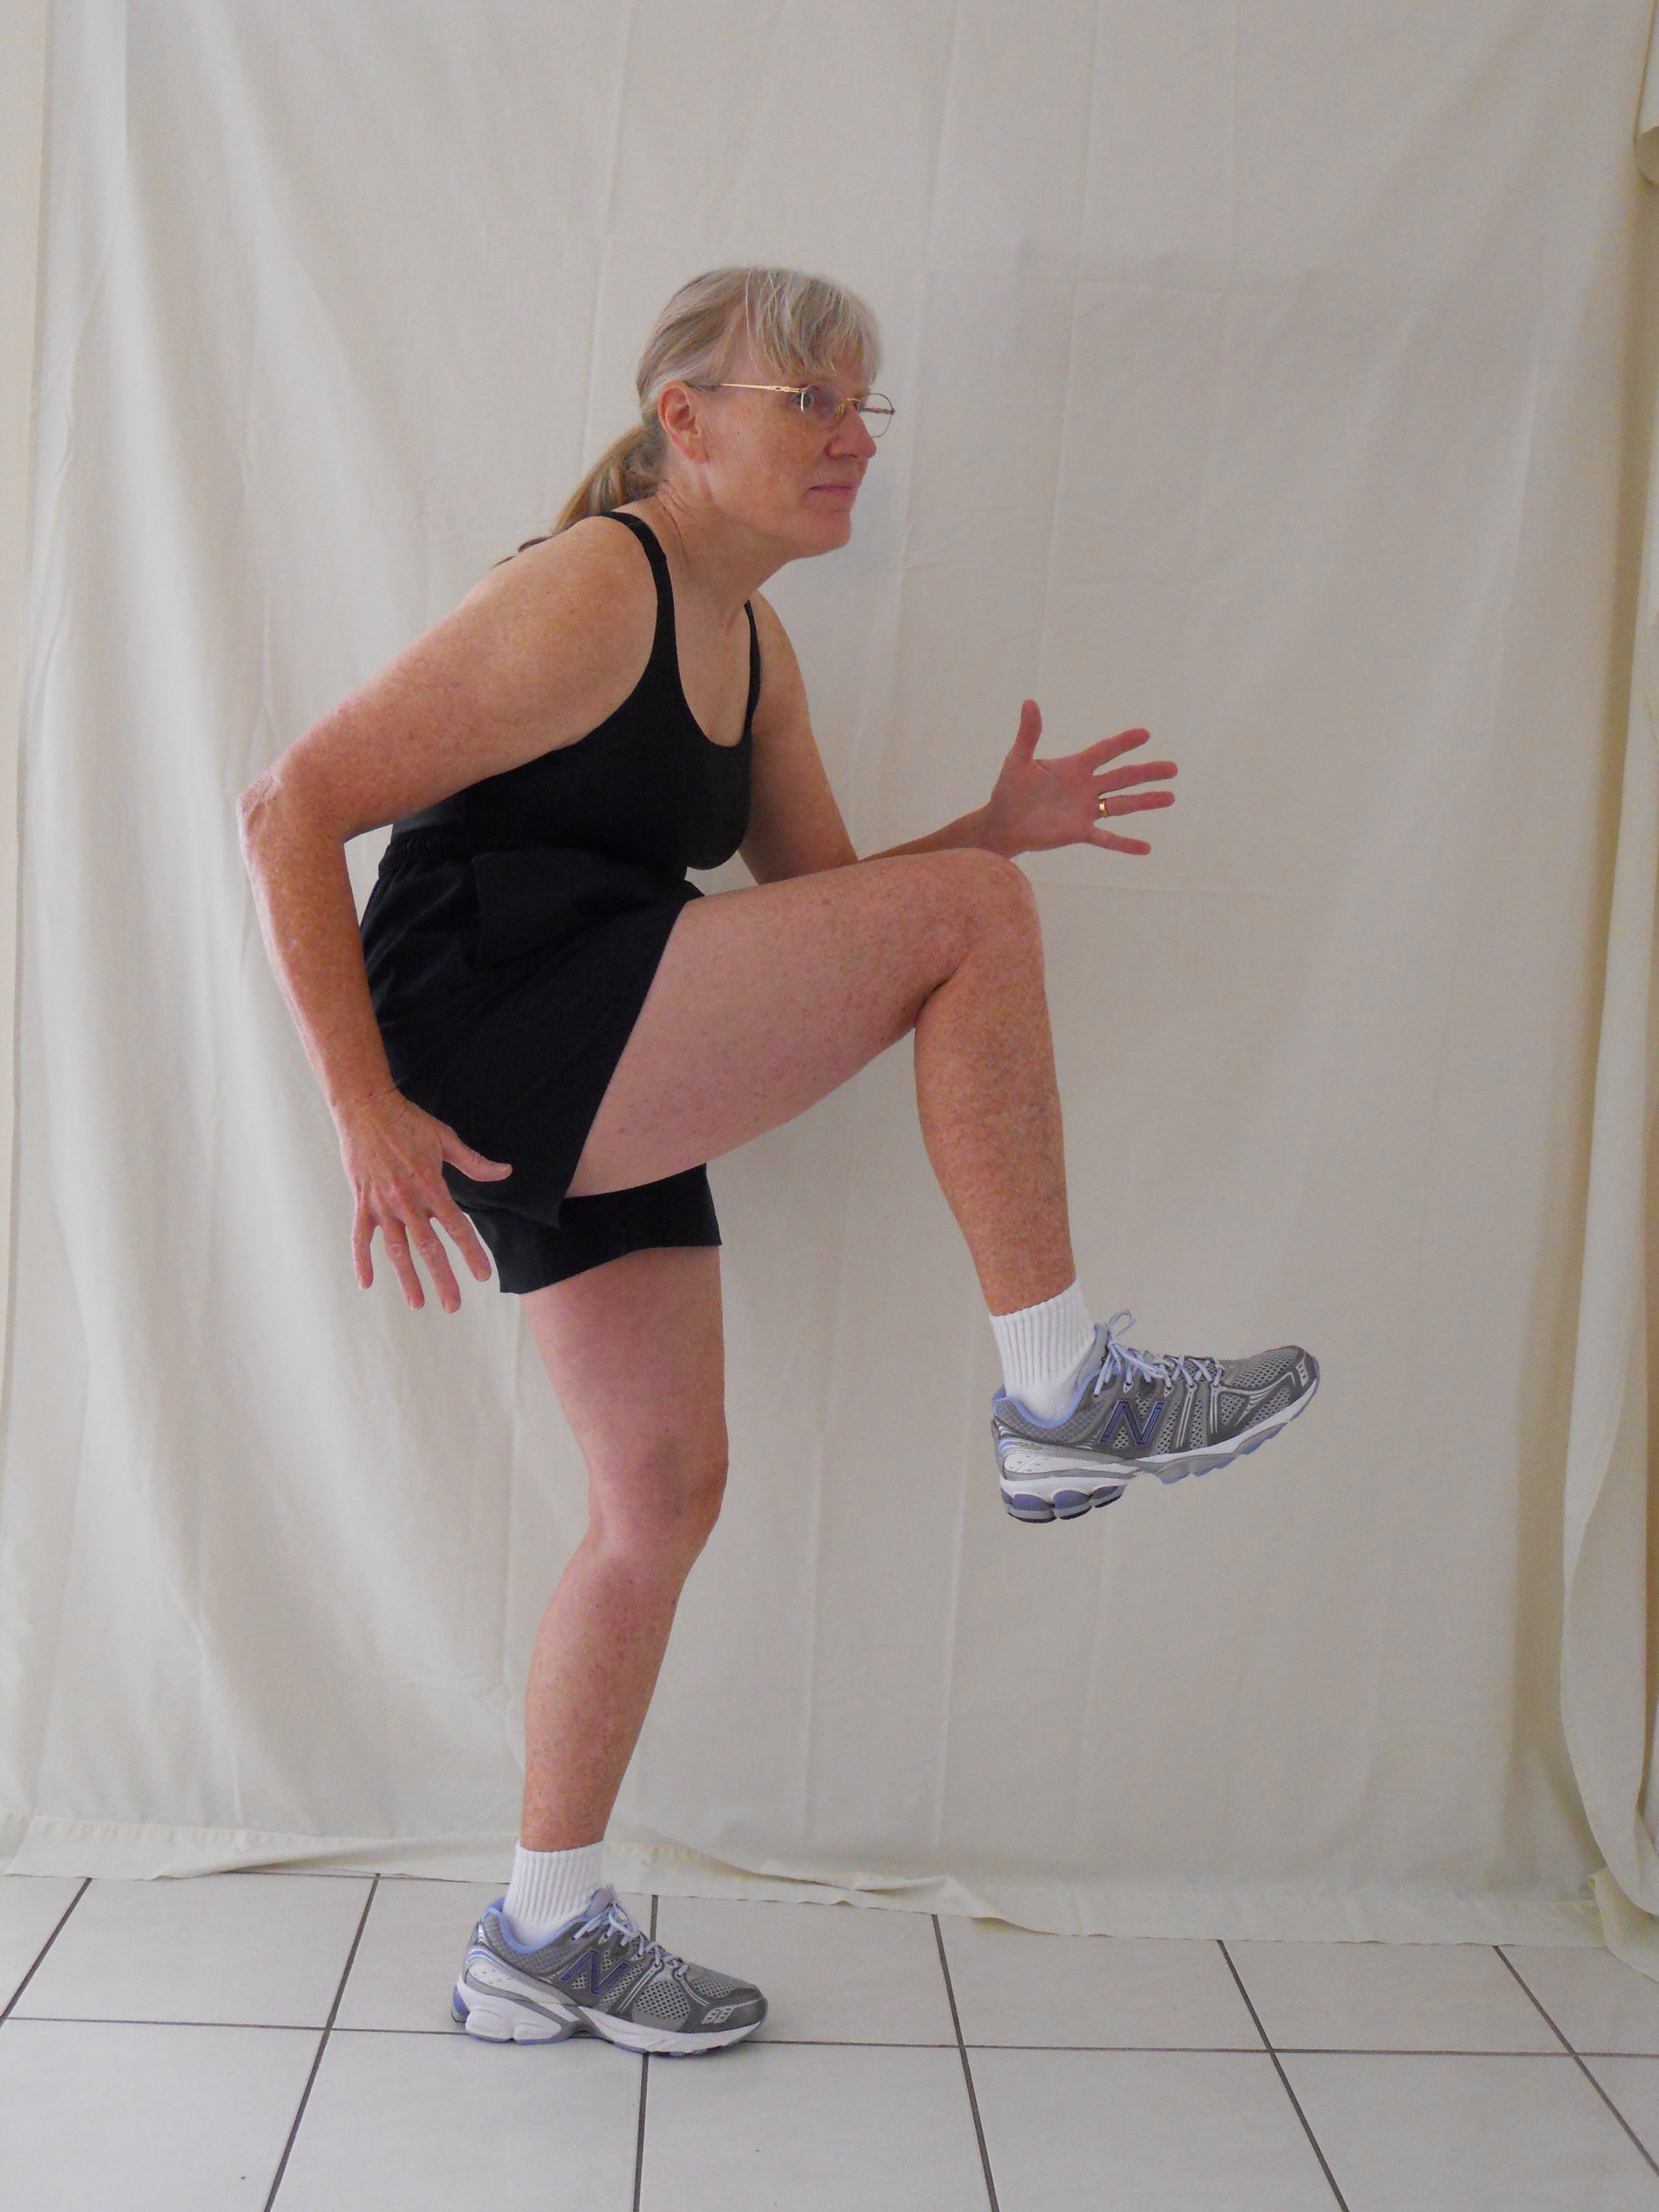
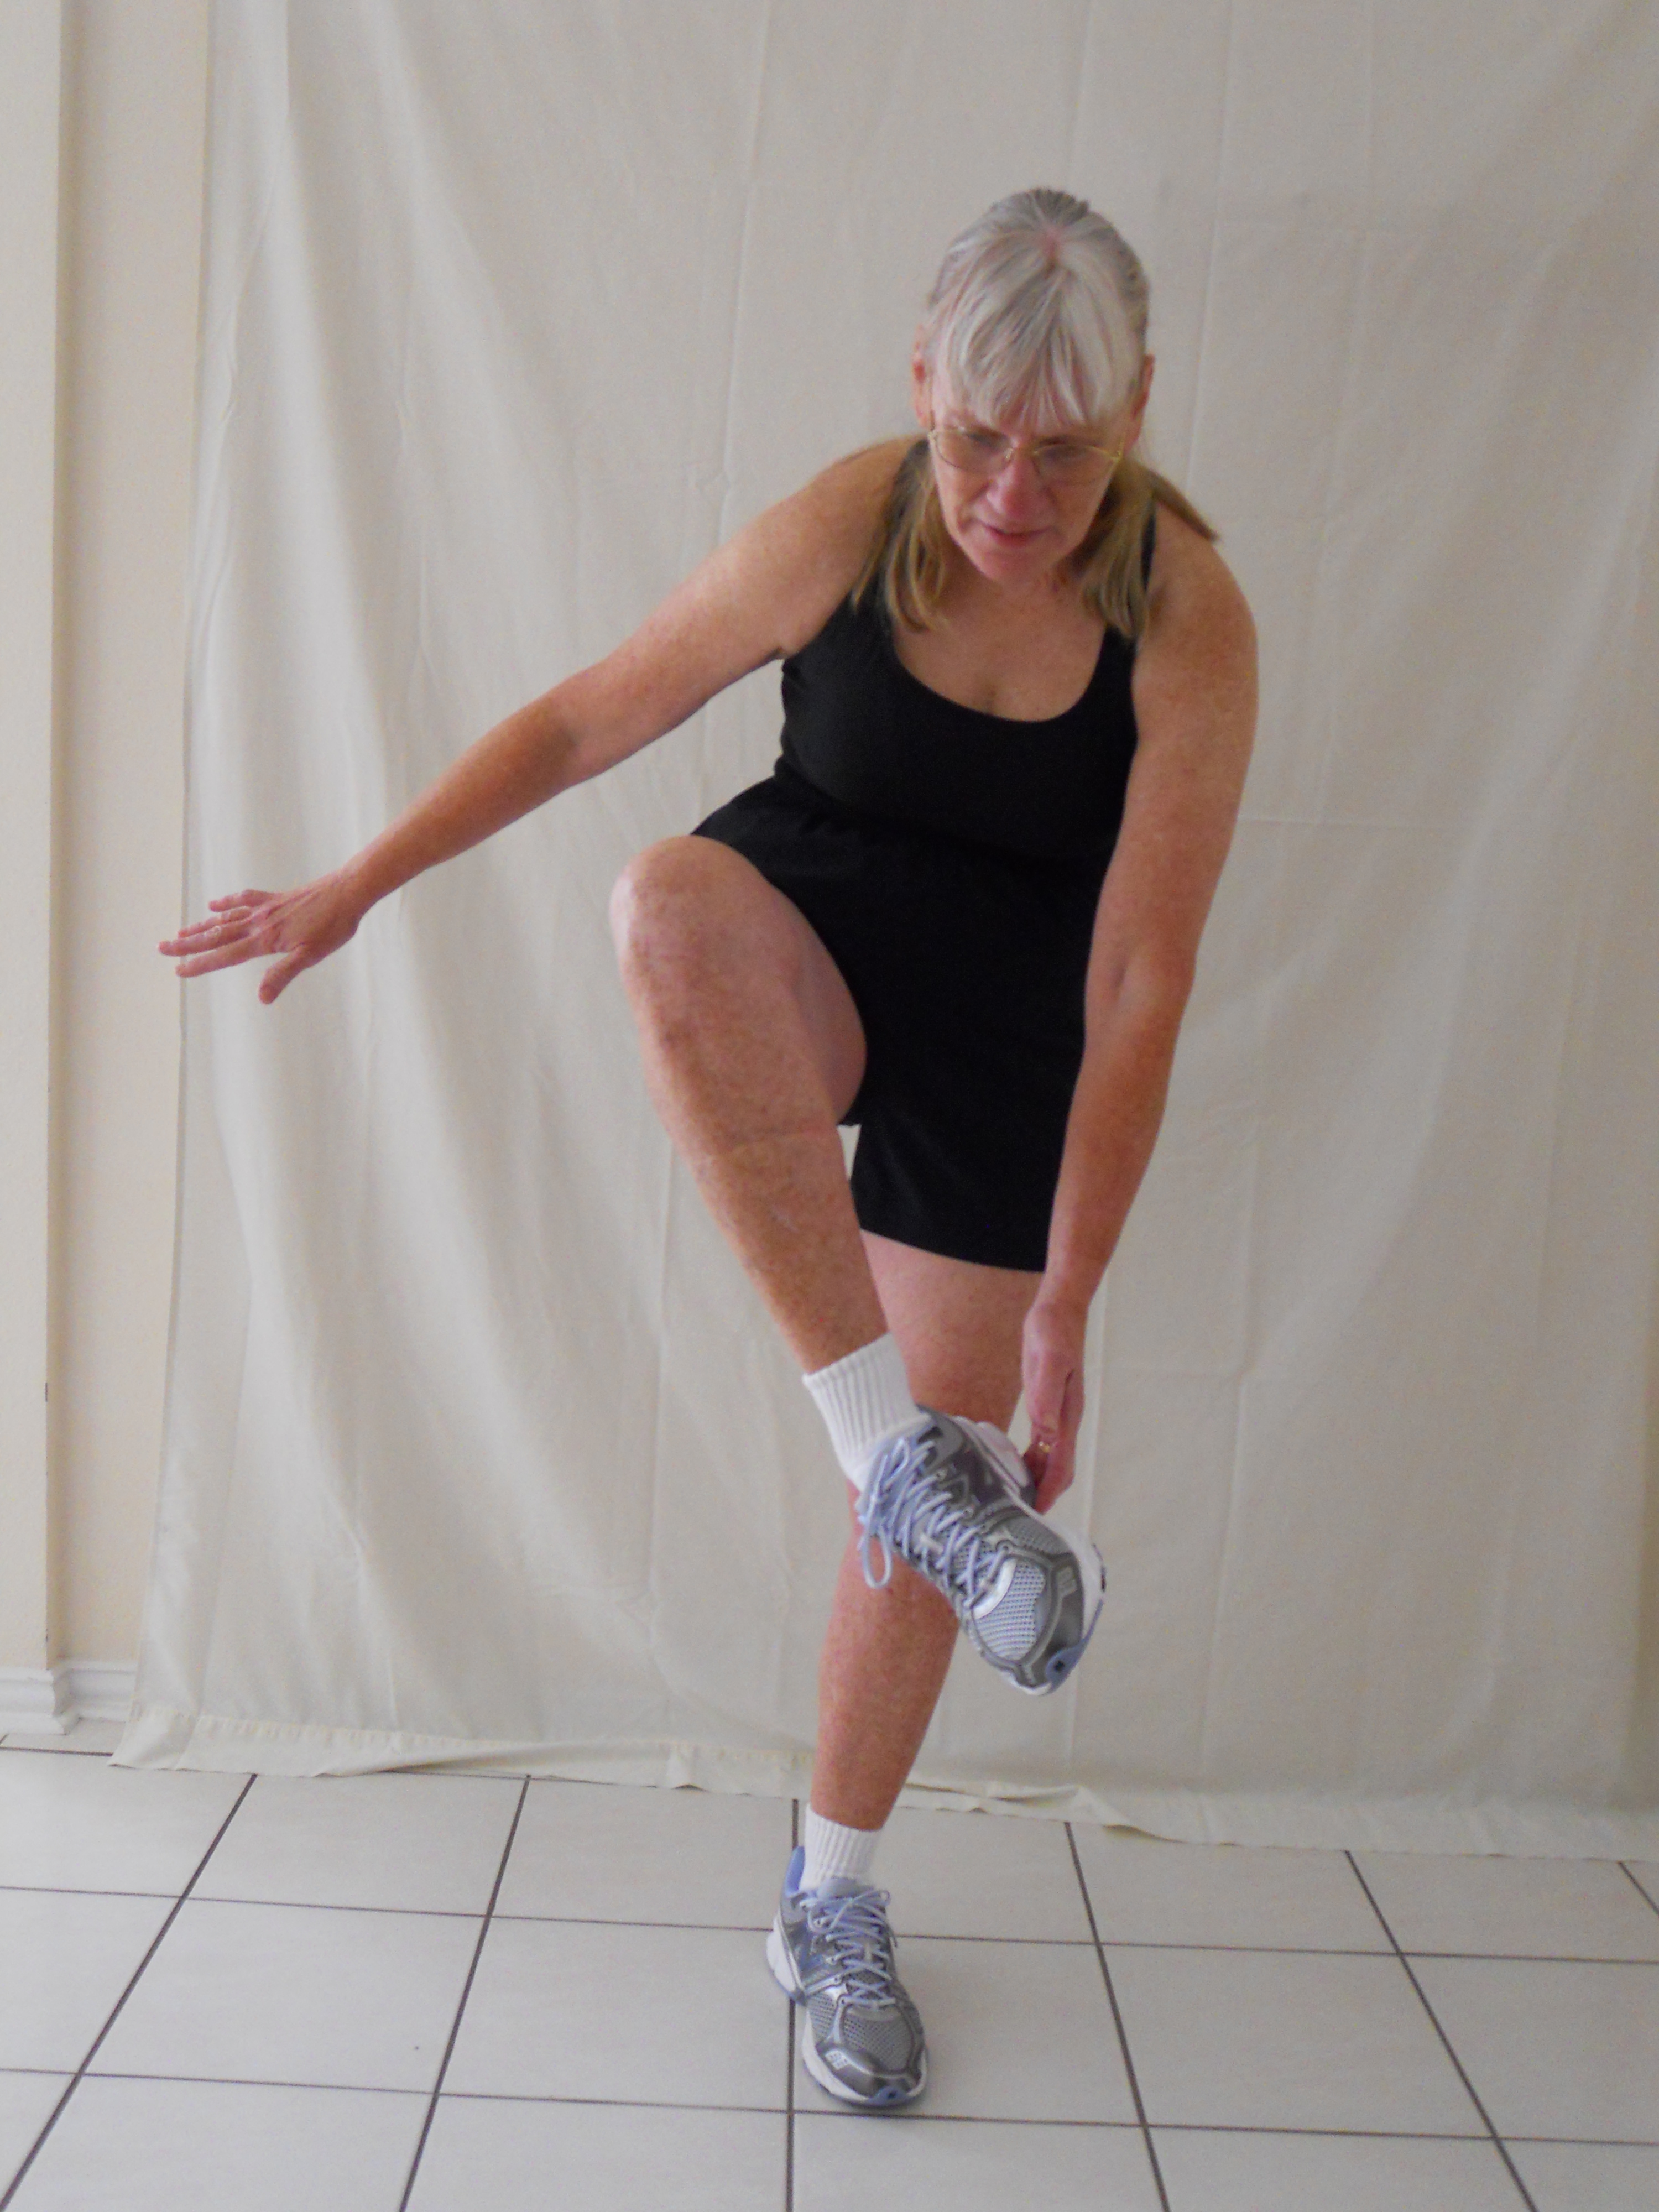
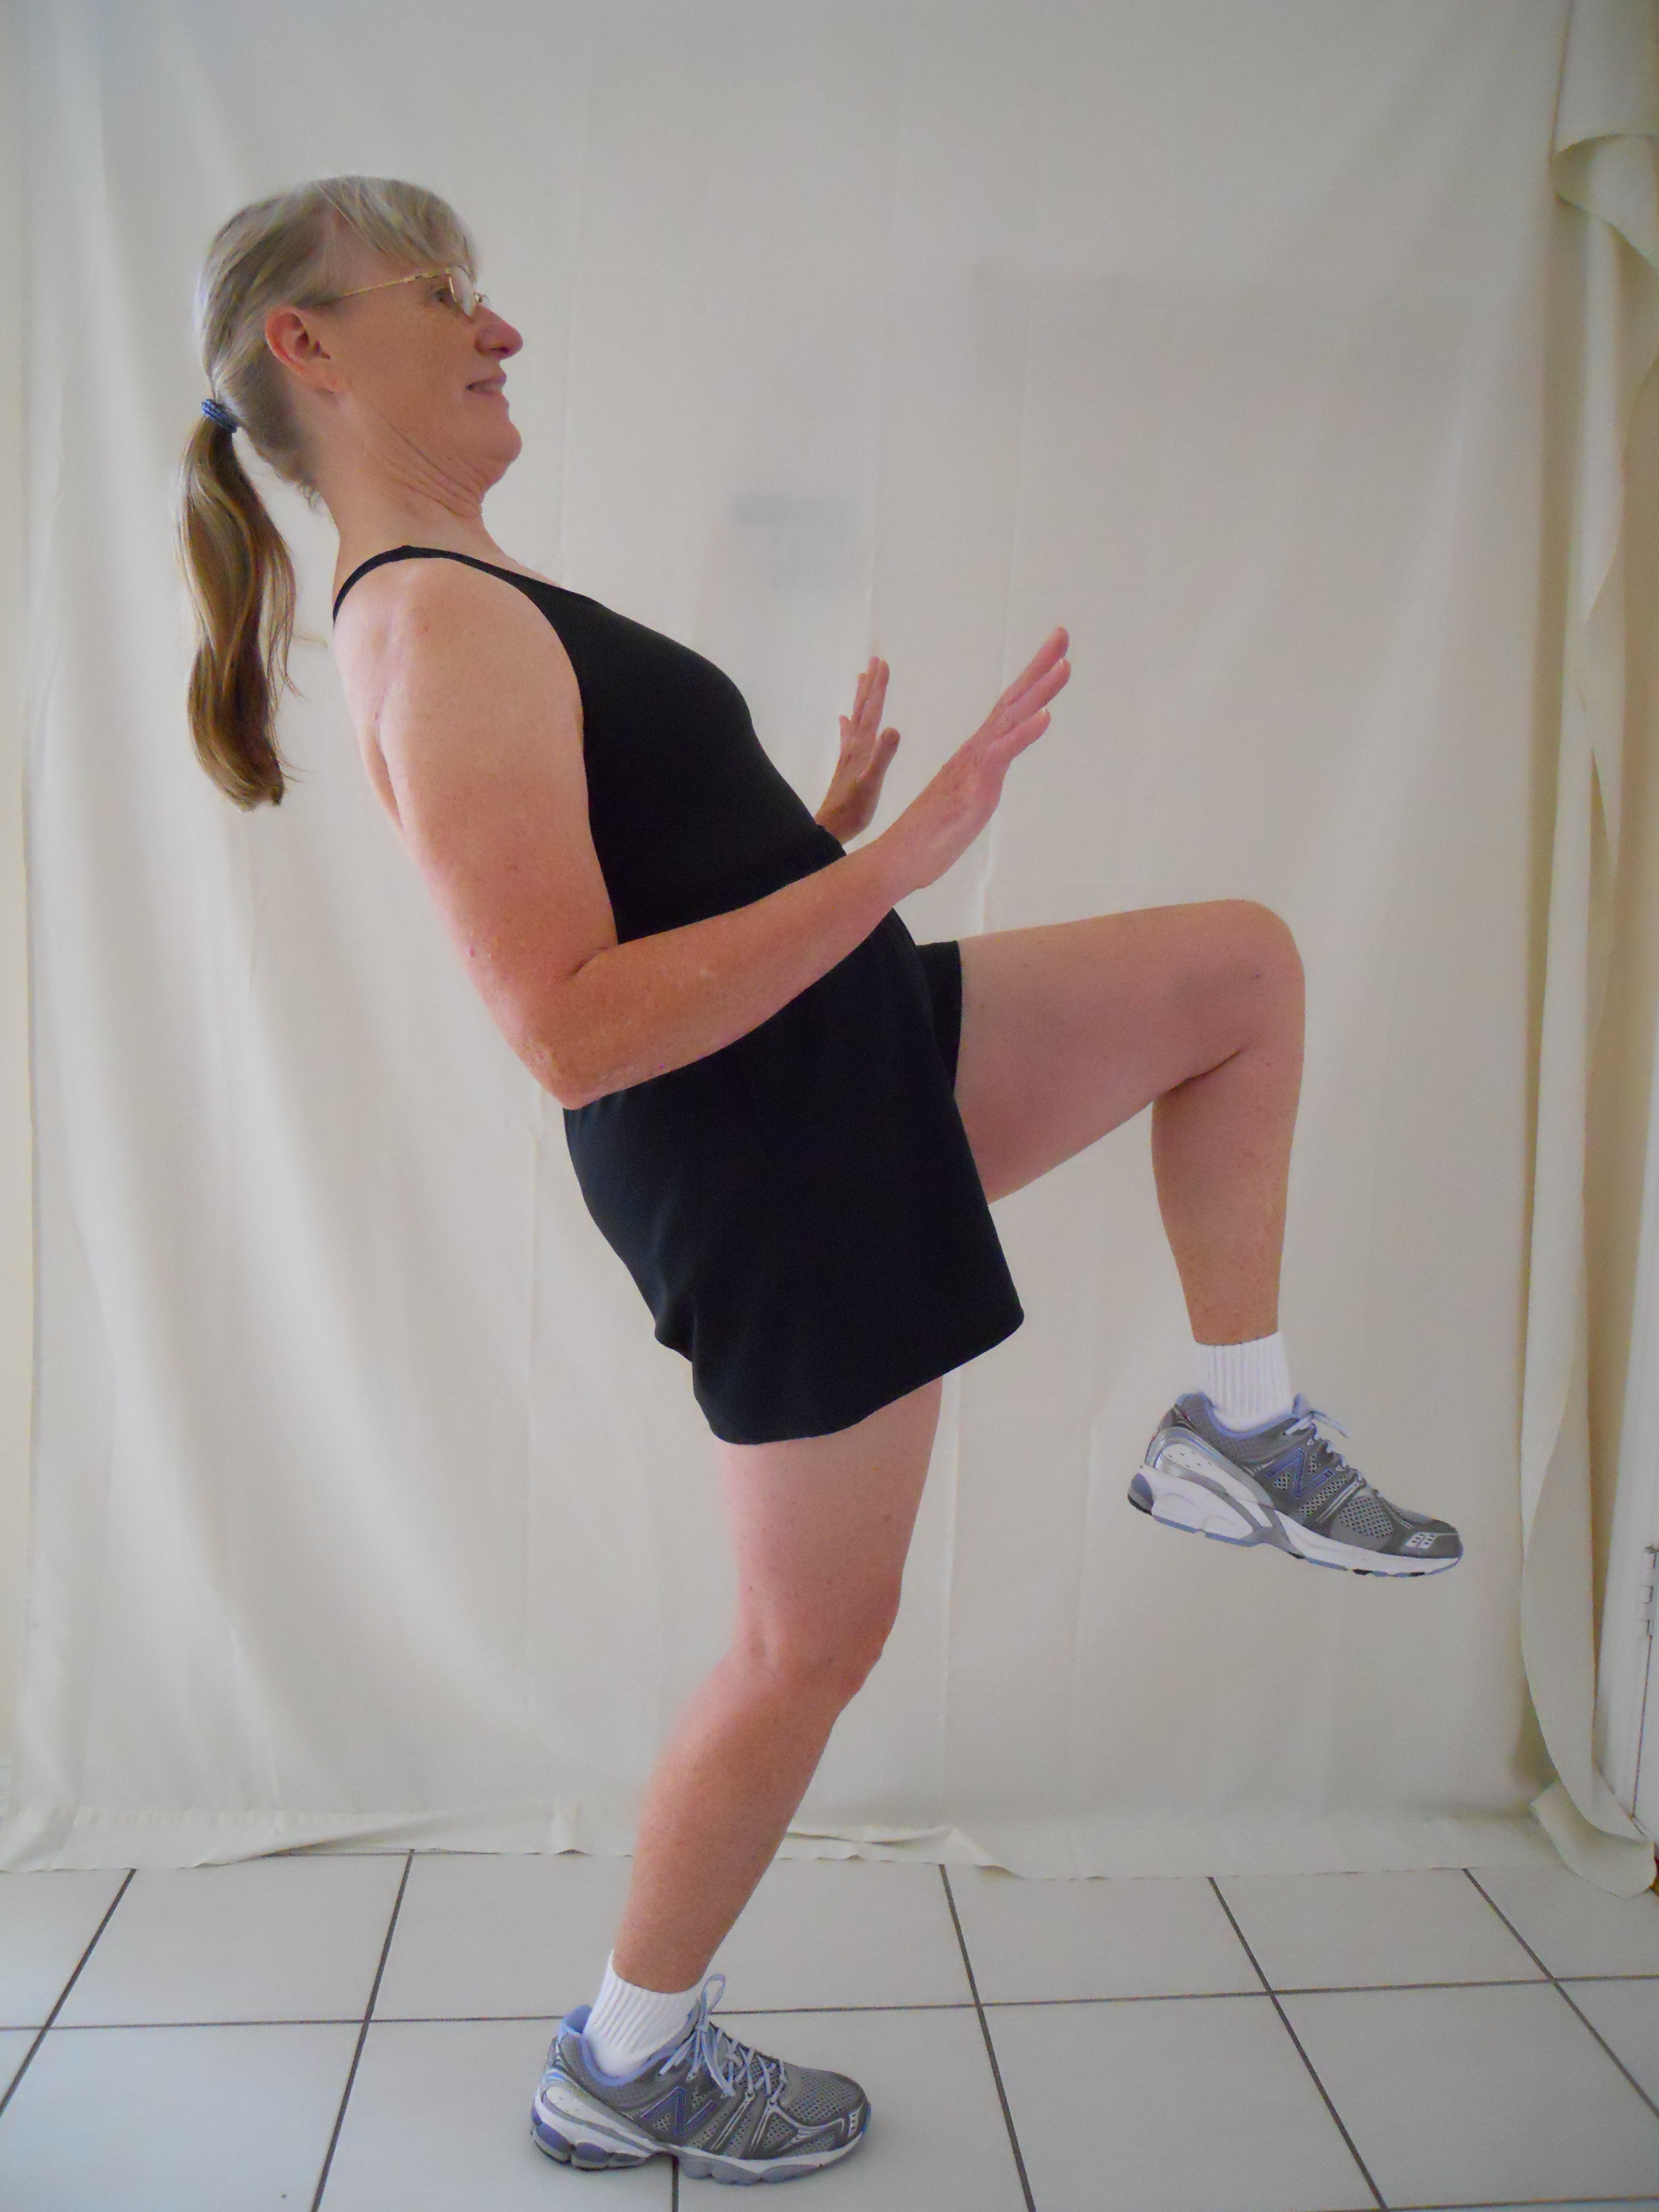
The exercises are jumping jacks, jog with a diagonal lean, side to side extension, knee high jog, lateral flexion, power run, cross-country ski, and jog with elevation. All of these are good exercises, but would you want to do them in this order? Of course not! But why not? You would be asking your body to jump right into cardio, drop down into core work, go back into cardio, stretch, go into high intensity cardio, and then you’re done.

It would be much better for your body to give it time to work up to higher intensities and then let it come down gradually. That’s why a good workout has 4 distinctive parts:

  1. The warm up. When you first get into the pool, the water feels cold. That’s because the pool temperature is perhaps 15 degrees cooler than body temperature. You need to acclimate to the environment of the water, warm up the muscles, and increase the metabolic rate in order to be ready for your workout. Start with a vigorous short-lever exercise, such as a knee-high jog. Then add long lever exercises, such as a jumping jack. The warm-up should last from 5-10 minutes.
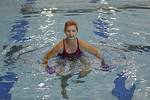
  2. The conditioning phase. This is the main part of your workout. If your goal is cardiorespiratory endurance, then you want to do exercises that get your heart rate up. Cross-country ski is the perfect exercise for this! You can also increase intensity by adding acceleration, (as in the power run) or elevation. Your conditioning phase lasts 20-50 minutes, depending on how long your want your workout to be or how long your class is.
  3. The cool down.  You need your heart rate to return to its resting state. So you will start to slow down by using lower intensity exercises. The jog with a diagonal lean is a good transitional exercise. It is less vigorous than a power run and it adds in a core challenge to maintain alignment. When the heart rate has come down, you can do toning exercises or core exercises, such as the side to side extension. The cool down lasts 5-15 minutes.
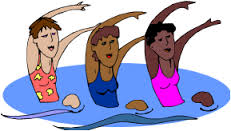
  4. The post stretch. The best time to work on flexibility is now, when the muscles are still warm. Lengthen a muscle and then hold it in a static stretch. Or move the joints through their full range of motion in a dynamic stretch. Aim to stretch for at least 5 minutes.

It may take some planning to put together a workout that is not just a random set of exercises, but your body will thank you.  I’ll bet you can rearrange those pictures above into a better order now.

IMG_4509

See you in the pool!

Chris Alexander

For more information about organizing workouts, see my book, Water Fitness Lesson Plans and Choreography. You can find out how to order it on my website at www.waterfitnesslessons.com

Water Fitness Instructors Needed

Water fitness instructor class

Do you like being active? Do you enjoy the water? Do you like helping people? Are you interested in being a water fitness instructor?

There is a shortage of water fitness instructors in the Dallas-Fort Worth area. Check out the Job Postings on the website of the Metroplex Association of Aquatic Professionals at www.maapdfw.com to see how many facilities are looking for instructors. So how do you go about becoming a water fitness instructor? I’m glad you asked! You can sign up for my class coming up in October.

Beginning Water Fitness Instructor Class

Saturday October 3 and Saturday October 10 – Participants attend both days

Time: 10:00 am to 2:30 pm

Cost: $60 for residents of McKinney, $65 for non-residents

Location: McKinney Senior Pool, 1400 S. College Street, McKinney, TX 75069

To register, go to https://webtrac.mckinneytexas.org or stop by the pool and register in person or call 972-547-7495 for assistance.

The class gives basic information necessary to teach a water fitness class.

Bones & muscles     Heart rate    pool water    Aquatic equipment

Some of the things you will learn are:

  • The names of the muscles and how they work during exercise
  • How to increase and decrease intensity so that you achieve your target heart rate
  • The properties of water and how to manipulate them during a water fitness class
  • How to use various kinds of equipment

The class is ideal for people who want some idea of what they have to learn before they sign up to take a certification test, for people who have lots of questions, and for people who do better with hands on experience than with just reading a book.  The next step is to sign up to get a certification. A good entry level certification is offered by the United States Water Fitness Association (USWFA). You do not have to take my Beginning Water Fitness Instructor course in order to get their certification. If you have some fitness experience and don’t feel like you need any additional training, you can contact the USWFA directly at www.uswfa.org. The cost for a certification is $247. They will send you a water fitness instructor manual, an open book test, and some forms to fill out, which you will bring to a National Testing Day (NTD). At the NTD you take a closed book test and teach an 8-minute sample class. The instructor-trainer tells you at the end of the day whether you passed. After that, you can contact some of those facilities looking for instructors and get your own class.

See you in the pool!

How to Train for Good Posture

You can’t really be physically fit if you don’t have good posture. Therefore you have made a commitment to train for good posture in your water fitness class. Great! This may require you to rethink how you perform the exercises. You will need to be sure to keep your sternum lifted, your shoulders level, and your core braced so that you maintain your good posture no matter what exercise you are doing. Sometimes in your eagerness to increase intensity and burn calories you may inadvertently take your spine out of neutral alignment. Let’s take a look at some common exercises and see how this happens.  All of the photos show the exercises performed with bad form.

High knee jog

Knee High Jog.  This is a great exercise for increasing the heart rate and burning calories. But sometimes in your enthusiasm to increase intensity you may bring the knees too high, as in this picture, putting pressure on the low back and possibly aggravating the sciatic nerve. Bring the knees up just until the upper leg is parallel to the floor.


Leaning inner thigh lift

Inner Thigh Lift.  This exercise improves hip flexibility because you are moving the leg in a diagonal plane. You might decide to increase your range of motion by touching your ankle with your opposite hand. But if you have to bend forward to reach the ankle, as in this picture, you are taking your spine out of neutral. Better to touch the inner thigh or knee instead.


Leaning hopscotch

Hopscotch.  This exercise works the hamstrings. It is more important to maintain neutral alignment than to actually touch the heel with your opposite hand. If you have to bend to the side to reach the heel, as in this picture, then it is better to just swipe at the heel with your hand.


Too high kick

High Kick.  This is a long lever exercise so it takes more effort and burns more calories than its short lever cousin, the knee high jog. The goal here is not to get the foot out of the water though. If you find yourself leaning backward to get the leg higher, as in this picture, you are bringing the leg too high and taking the spine out of neutral.


Arching rocking horse

Rocking Horse.  This exercise works multiple leg muscles and also challenges balance because it takes the body off-axis. Watch out for an overly enthusiastic rocking motion though. Arching the back while shifting the weight to the back leg, as in this picture, puts a lot of stress on the low back.


Greater intensity levels can be achieved when the exercises are performed with good posture and the power is put into the arm and leg movements. You might be surprised at how hard you can work while keeping the sternum lifted, the shoulders level and the core braced.  See you in the pool!

Why Train for Good Posture?

Training for good posture may not sound as exciting as high intensity interval training or deep water running, but it is important for your future health and well being.  Look at the two photos below.  Which of these postures do you want to have as you get older?

The fact is that you may be training for the posture of the second man.  If you spend a lot of time seated in front of a computer or using a mobile device, or if you spend a lotman with walkerAdam Posture of time behind the steering wheel of your car, chances are that you are in a position known as passive forward flexion.  In this posture, you are stretching out the muscles of your upper back, your erector spinae and your gluteus maximus.  Once the muscles get stretched out, just like an elastic band that gets stretched out, it is hard to “tighten them up” again.  Combine weak muscles on the back side of the body with the effects of gravity as we age, and the end result is that you become bent over, unable to stand up straight, and prone to poor balance and falls.
using a computer

What to do?  One thing you can do is take frequent breaks away from your computer, mobile device, etc.  Standing up or walking around takes some of the stress off of those stretched out muscles.  The other thing you can do is train your body for good posture in your water fitness class.

  • Lift your sternum.  This one simple action brings the head into alignment with the spine and pulls the shoulders back.
  • Keep your spine in neutral.  This means that the cervical, thoracic and lumbar regions of the spine are aligned in their natural curves.
  • Brace your core before beginning any exercise.  Once you are in neutral spine, tighten the muscles of the back and abdomen to maintain that neutral alignment.
  • Strengthen the postural muscles – the middle trapezius, latissimus dorsi, erector spinae, gluteus maximus, and the abductors and adductors in the hips.
  • If you are in deep water, resist the temptation to lean forward at the waist to make the exercises easier to do or to travel faster through the water.  This position inhibits the proper muscles from doing the work, and it creates spinal compressgood form in deep waterion equal to running on pavement.  Instead concentrate on increasing your frontal resistance and dragging the water along with you.  You will move slower, but you will work harder and your posture will improve.

Which Is Better: Shallow or Deep?

Shallow water running     Deep water running    I get asked that a lot!

A better question is: What is the difference between shallow water exercise and deep water exercise?

  1. Pool Depth.  In shallow water the exerciser is standing in water that comes somewhere between waist level and chest level.  At this depth, buoyancy supports 70% of the body’s weight.  In deep water the exerciser is in water deep enough that the feet do not touch the pool floor.  A flotation device must be worn so that the exerciser does not have to spend the entire class trying to keep her head above water.  At this depth, buoyancy supports 90% of the body’s weight.
  2. Maintaining Alignment.  Exercise is safest when performed in neutral alignment.  In shallow water, water currents may challenge balance, but the exerciser’s feet are on the floor and her center of gravity (in the pelvic girdle) is the same as on land.  In deep water the exerciser has to balance from her center of buoyancy (at the lungs) with no information from her feet to tell her where she is in space.  It takes some practice, but the payoff is that core strength and posture both improve.
  3. Adam neutral   Amos suspended   Kathy diagonal                                Working position.  The working positions in shallow water are upright with rebound, upright grounded (keeping one foot in contact with the floor at all times), neutral (with the hips and knees flexed and the feet touching the floor) (see Photo 1), and suspended (see Photo 2).  The working positions in deep water include upright, tilted 45 degrees to the side (see Photo 3), seated as if in a dining room chair, and side-lying.
  4. Travel.  Travel in shallow water mainly involves the legs.  In deep water, travel significantly involves the upper body.  With no floor to push off from, the exerciser frequently uses arm movements to assist in travel, which requires a certain amount of upper body strength.
  5. Increasing Intensity.  Exercisers can increase intensity in shallow water by increasing speed, by increasing the range of motion, by using acceleration off the pool floor (jumping), by using acceleration against the water’s resistance (power moves) and by traveling.  Suspended moves also increase intensity for some, althKathy elevationough not so much for people who float easily.  The same methods can increase intensity in deep water with the exception of jumping and suspended moves.  In addition, deep water exercisers can elevate the shoulders out of the water with powerful leg moves or with sculling (see Photo 4).  High intensities can be achieved in both shallow water and  deep water.

These are some of the differences between shallow and deep water exercise.  Which is more interesting to you?

For more information about shallow and deep water, see my book Water Fitness Lesson Plans and Choreography.  Information about the book is available on my website at www.waterfitnesslessons.com  The photos illustrating this article come from the book.