Free Choreography #4

IMG_4479

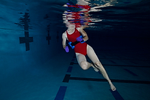
This is the fourth in a series of Blog posts on choreography. For our purposes, I use the terms choreography and lesson plan interchangeably. Being able to use a variety of choreography styles will make your classes more interesting for yourself and your participants.  Writing down your lesson plans ahead of time will mean that you come to your class fully prepared, plus you will be able to use your choreography again later on.

Previous Blog posts featured samples of linear choreography, pyramid choreography and add-on choreography. This Blog post is about the layer technique. To use the layer technique, you begin with a set of basic exercises, then you repeat all of the exercises except for one. Substitute a different exercise for that one. For the next set, repeat all of the exercises including the new one, but now replace another exercise with a new exercise. You will keep changing one exercise in the set as you progress.

The following example will use the same 6 basic exercises as the previous choreography samples. The 6 exercises transition easily from one to the next. The exercises are:

  1. Knee-high jog
  2. Run tires (like running through tires at football practice)
  3. Jumping jacks
  4. Cross-country ski
  5. Kick forward
  6. Heel jog
  • (A set)
  • Knee-high jog with pumping arms
  • Run tires with shoulder blade squeeze
  • Jumping jacks clap hands
  • Cross-country ski
  • Kick forward with triceps extension
  • Heel jog with rotator cuff sweep
  • (B set)
  • Knee-high jog with pumping arms
  • Run tires with shoulder blade squeeze
  • Jumping jacks clap hands
  • Cross-country ski
  • Kick forward with triceps extension
  • Hopscotch doubles
  • (C set)
  • Knee-high jog with pumping arms
  • Run tires with shoulder blade squeeze
  • Jumping jacks clap hands
  • Cross-country ski
  • High kick 3X, skate kick 1X
  • Hopscotch doubles
  • (D set)
  • Knee-high jog with pumping arms
  • Run tires with shoulder blade squeeze
  • Jumping jacks clap hands
  • Cross-country ski & tuck ski alternate
  • High kick 3X, skate kick 1X
  • Hopscotch doubles
  • (E set)
  • Knee-high jog with pumping arms
  • Run tires with shoulder blade squeeze
  • Jumping jacks, clap hands & lat pull-down alternate
  • Cross-country ski & tuck ski alternate
  • High kick 3X, skate kick 1X
  • Hopscotch doubles
  • (F set)
  • Knee-high jog with pumping arms
  • Frog jump with double-arm press-down
  • Jumping jacks, clap hands & lat pull-down alternate
  • Cross-country ski & tuck ski alternate
  • High kick 3X, skate kick 1X
  • Hopscotch doubles
  • (G set)
  • Tuck jump
  • Frog jump with double-arm press-down
  • Jumping jacks, clap hands & lat pull-down alternate
  • Cross-country ski & tuck ski alternate
  • High kick 3X, skate kick 1X
  • Hopscotch doubles

You can now peel back the layers by working your way backward from F set to end up with your original A set. Add a warm-up and 5 minutes of stretching at the end and your choreography is ready to go.

Next Blog post: Block Choreography.

See you in the pool!

IMG_4509

Free Choreography #3

Shallow water class

This is the third in a series of Blog posts on choreography. As you are already aware, your choreography is your lesson plan. Preparing a lesson plan ahead of time allows you to teach your class with confidence because you will always know what is coming next.

Previous Blog posts featured samples of linear choreography and pyramid choreography. This Blog post is about add-on choreography.  The simplest way to create add-on choreography is to start with one exercise and follow it with a second exercise. Next you repeat the first exercise, repeat the second exercise and add on a third exercise. You continue to repeat and add on new exercises until your class time is up. The problem with doing it that way is that you will repeat your first two exercises many times, and by the time you get to the end of class, both you and your participants will be sick of those exercises.

So to reduce the number of repetitions of a single exercise and make the choreography more interesting, use sets of exercises. Start with a set of 4-6 exercises and follow it with a second set of 4-6 exercises. Repeat the first set and the second set and add on a third set. Continue to repeat and add on new sets until your class time is up.

The following example will use the same 6 basic exercises as the previous choreography samples. The 6 exercises are:

  1. Knee-high jog
  2. Run tires (like running through tires at football practice)
  3. Jumping jacks
  4. Cross-country ski
  5. Kick forward
  6. Heel jog

These exercises in this order transition easily from one to the next. Each set will be based on one of these exercises with variations. Make your first two sets moderately intense and the next three sets more intense. The last set should be easier to allow your participants to start cooling down.

  • (A set)
  • Knee-high jog with jog press
  • Knee-high jog with breaststroke travel backward
  • Leap forward
  • Knee-high jog faster
  • (B set)
  • Run tires push forward
  • Run tires push across
  • Frog jump
  • Squat & hop

Repeat A set, repeat B set

  • (C set)
  • Jumping jacks
  • Jumping jacks with a diagonal turn
  • Jumping jacks, one arm crosses front & one arm crosses back
  • Jumping jacks clap hands travel backward & forward

Repeat A set, repeat B set, repeat C set

  • (D set)
  • Cross-country ski
  • Tuck ski
  • Cross-country ski suspended
  • Cross-country ski with unison arm swing

Repeat A set, repeat B set, repeat C set, repeat D set

  • (E set)
  • Kick forward with double-arm press-down
  • Kick & lunge R, arms sweep R
  • High kick
  • Kick & lunge L, arms sweep L

Repeat A set, repeat B set, repeat C set, repeat D set, repeat E set

  • (F set)
  • Heel jog
  • Hitchhike
  • Hopscotch
  • Heel jog with triceps extension travel backwards & forwards

Now add a warm up at the beginning of class and finish your cool down with some core strength work. Add 5 minutes of stretching and you’ve got a plan.

For more examples of add-on choreography, see my book Water Fitness Lesson Plans and Choreography. You can find a link to the publisher on my website at www.waterfitnesslessons.com

I am presenting a workshop in Plano, Texas on October 1, 2016 that will include sample choreography for a Periodization program. The workshop is called Working toward Peak Fitness. For more information, check out the Calendar on the Metroplex Association of Aquatic Professionals website at www.maapdfw.com

Next Blog post: Layer technique.

See you in the pool!

IMG_4509

Chris


Free Choreography #1

IMG_4483

The term choreography calls to mind dancers performing on a stage or in a music video. So using the term for a water fitness class may seem intimidating. But it does not have to be complicated. Basically, choreography is your lesson plan. Writing choreography involves taking your list of exercises and organizing them in the order in which you plan to teach them. Your class will be more successful if you make a plan ahead of time so that you don’t find yourself struggling to come up with exercises to fill the time.

To help you remember your choreography you need to organize the exercises in a way that is logical to you. There are a variety of choreography styles that can be used to help you do this. The simplest is linear choreography. Linear choreography organizes the exercises in a “line,” that is, without patterns or repetitions.

The following is an example of linear choreography for a shallow-water class using just 6 basic exercises with variations. The 6 exercises are:

  1. Knee-high jog
  2. Run tires (like running through tires at football practice)
  3. Jumping jacks
  4. Cross-country ski
  5. Kick forward
  6. Heel jog

The logic of using the exercises in this order is that it is easy to transition from one to the next. From the knee-high jog you move the legs farther apart to go into running tires. Next you bounce center and apart in jumping jacks. From the center bounce you transition into cross-country ski. Stay in the sagittal plane to go into a kick forward. Finally switch the leg movement from front to back in a heel jog.

Breaking up the choreography into sets divides it into sections that are easier to remember than a long chain of exercises. In this case each set will feature one of the six exercises.

  • (A set)
  • Knee-high jog with jog press
  • Knee-high jog with pumping arms
  • Knee-high jog faster & slower alternate
  • Leap forward
  • (B set)
  • Run tires with scull
  • Run tires with shoulder blade squeeze
  • Run tires with rebound & neutral position alternate
  • Leap sideways
  • (C set)
  • Jumping jacks
  • Jumping jacks clap hands
  • Jumping jacks neutral position & suspended alternate
  • Jumping jacks 4X with 1/4 turn
  • (D set)
  • Cross-country ski
  • Cross-country ski with windshield wiper arms
  • Cross-country ski & cross-country ski with power alternate
  • Cross-country ski 3-1/2X & 1/2 turn
  • (E set)
  • Kick forward push forward
  • Kick forward with triceps extension
  • Kick forward low & high alternate
  • Kick forward travel backward in a circle
  • (F set)
  • Heel jog with paddlewheel
  • Heel jog with forearm press
  • Heel jog & hopscotch alternate
  • Skip rope travel forward in a circle

This should take approximately 20 minutes. Repeat the choreography a second time. Add a 5-minute warm at the beginning, 10 minutes of noodle exercises afterwards, and 5-minutes of stretching and you have a 1-hour lesson plan ready to go.

For more examples of linear choreography, see my book Water Fitness Lesson Plans and Choreography. A link to purchase the book from Human Kinetics can be found on my website at www.waterfitnesslessons.com

Next Blog post: Pyramid Choreography.

See you in the pool!

IMG_4509


Exercise to Music

DSCN0422    
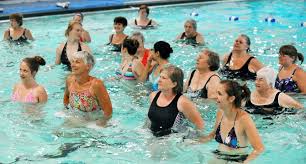
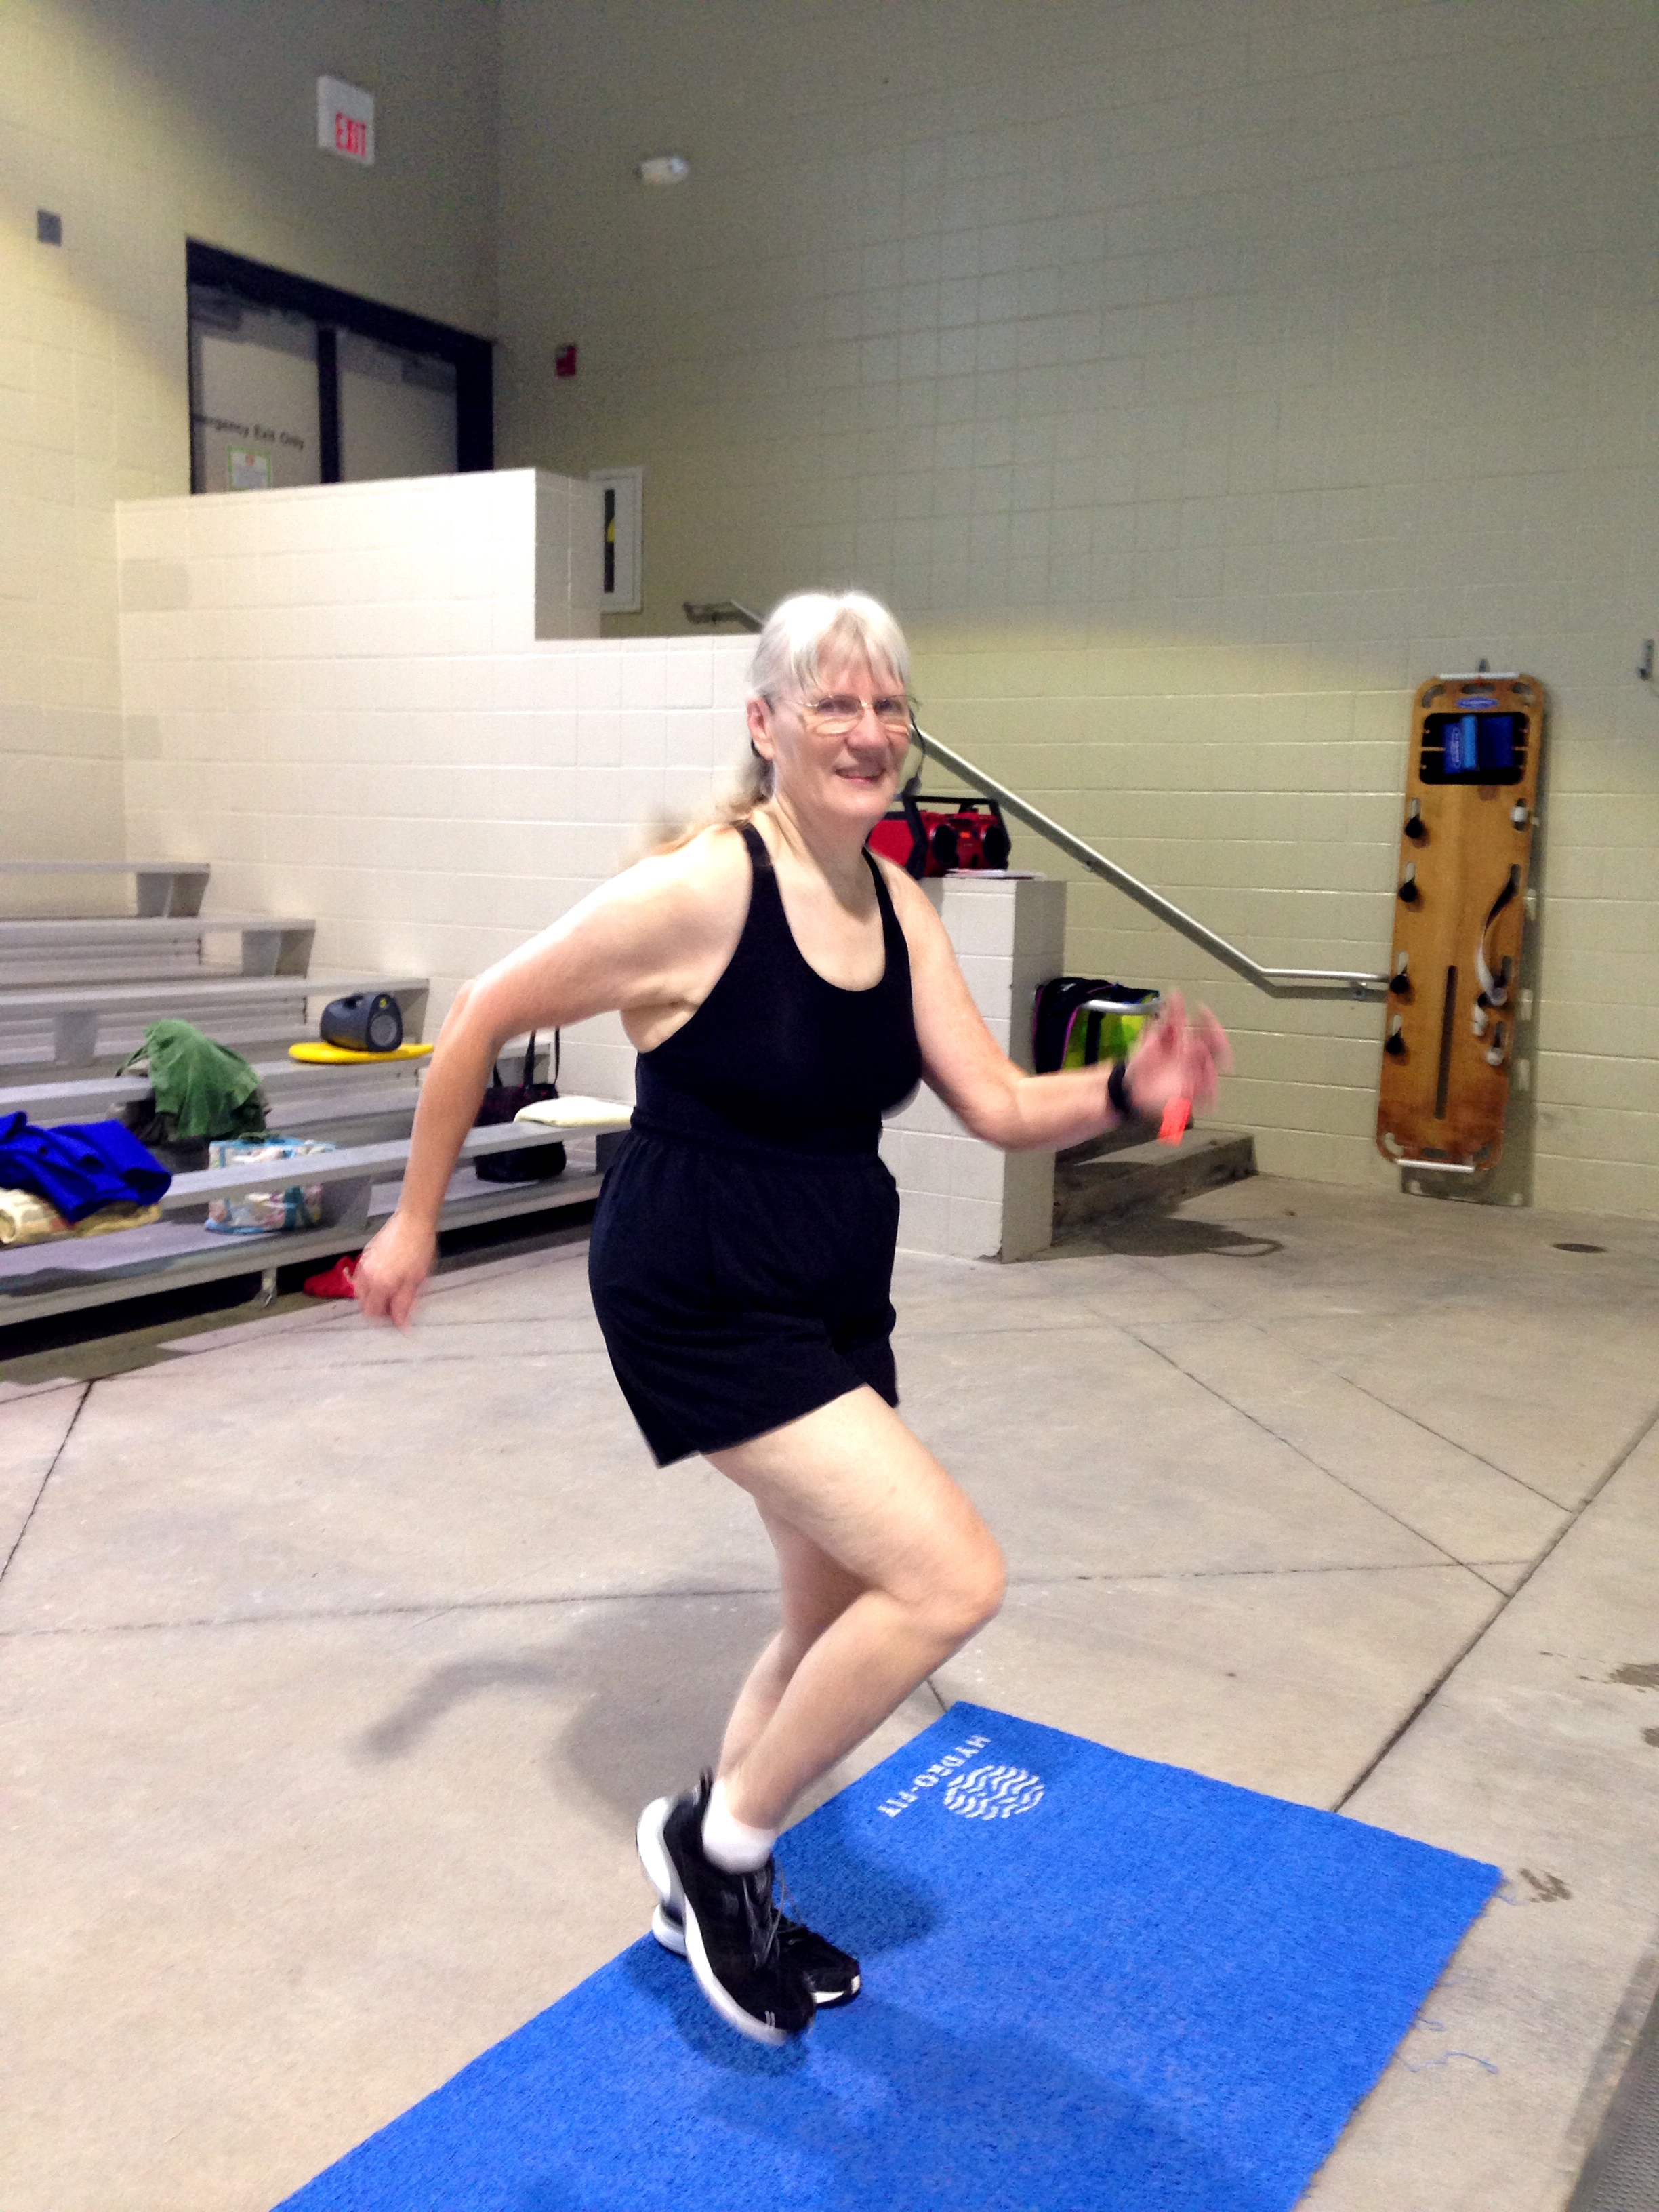
It’s fun to exercise to music! Music is a great motivator. It helps you maintain a cadence so that you stay on track and achieve the desired intensity. It also makes the workout seem to go faster.

If you are working out in the gym, you can plug your headphones into your iPod and use whatever playlist you like. If you are exercising in your backyard pool, you can turn on your sound system and play your favorite musical artist. It’s not that simple if you are teaching a water fitness class. Copyright laws state that musicians have the right to charge a fee for the use of their music in public performance, and a water fitness class is considered a public performance.

ASCAP (American Society of Composers, Authors, and Publishers) and BMI (Broadcast Music Incorporated) are the two largest companies worldwide that offer services to enable fitness professionals to access and use music without needing to contact each artist individually. Facilities that offer fitness classes must pay the appropriate ASCAP or BMI fees. Instructors should buy their music from companies that pay appropriate reproduction fees to produce CDs and music downloads for fitness applications. Some of these music companies are:

Dynamix  www.dynamixmusic.com

Muscle Mixes   www.musclemixes.com

Power Music     www.powermusic.com

Yes Fitness Music     www.yesfitnessmusic.com

Music can be purchased as CDs or downloads. A variety of titles are available or you can create your own playlists. For a shallow-water class, 125-150 beats per minute (BPM) is recommended. I personally like 130-140 BPM for my shallow-water classes. In deep-water classes, the drag forces of the water and increased range of motion require a slower cadence. 100-135 BPM is recommended, which is typical of music created for step classes. I like 126-128 BPM for my deep-water classes.

If you are playing a CD, you need a battery operated CD player or one plugged into an electrical outlet installed with Ground Fault Interrupters (GFIs). Do not adjust any knobs on the CD player with wet hands. Most CDs play 45 minutes or an hour. If your CD is 45 minutes and your class is an hour long and you are teaching in the water, either teach the last 15 minutes without music, or dry your hands very carefully before re-starting the CD. If you are teaching from the deck, this is not a problem.

If you downloaded a playlist to your iPod or MP3, you will need some type of speaker to plug it into. Again, you do not want to handle the equipment with wet hands. With a download, you can make the playlist the exact length of your class. You can even add cool down music for the stretches at the end of class. Apps are available that can adjust the tempo of your music so that you can play your download at 130 BPM for strength training with equipment one day, and 140 BPM for cardio another day. Be sure to listen to the music at the lower or faster speeds to make sure the voices don’t sound either draggy or like chipmunks.

If you choreograph your moves to specific songs, then you will use that playlist for that lesson plan every time you teach it. I prefer to create lesson plans that work with any of my playlists. Having a variety of lesson plans and a variety of playlists allows you to mix and match and change things around often. Variety is the spice of life!

See you in the pool!

IMG_4509


Exercises for Balance

Every 14 seconds an older adult is treated in the emergency room for a fall. Every 29 minutes an older adult dies from a fall related injury. Fear of falling often causes an individual to shorten his/her stride, shuffle the feet, and bend forward to see where the feet are. Ironically, this increases the risk of falling.

It is important to know how to recover from a fall. First, ease yourself up onto your elbows. Move onto your hands and knees. Then hold onto a firm surface, such as a chair, to support yourself. Facing the chair ease yourself to a standing position. Turn yourself around and sit on the chair.

Balance is the ability to distribute your weight in a way that enables you to hold a steady position or move at will without falling. It is possible to improve balance with exercise, and in fact, balance training is one of the top 10 worldwide trends in the fitness industry. The pool is the perfect place to work on balance. Because the water’s buoyancy and resistance helps support the body, exercises can be done without fear of falling.

There are a number of strategies for improving balance. Some of them are:

  1. Gait Training. Gait training is walking practice with the goal of lengthening the stride and improving confidence while walking.
  2. Core Strength Training. The goal of core strength training is to improve the strength of the postural muscles of the trunk.
  3. Deep-Water Exercise. Deep water exercise is performed, while wearing a flotation device, in water in which a person can remain vertical without the feet touching the floor. Exercisers must aggressively engage the stabilizing muscles of the core to remain upright.
  4. Unpredictable Commands. Unpredictable commands train the body, and in particular the core muscles, to react to the unexpected.
  5. Balance Challenges. Balance challenges are performed with a narrow base of support, such as the feet together, one foot in front of the other or standing on one foot.

For specific exercises using each of these 5 strategies, you are invited to attend my lecture, Exercises for Balance, at the Bone Buddies osteoporosis support group on Saturday, May 14 at 9:45 AM. The meeting is free and open to the public. The location is the Methodist Richardson Medical Center, 2821 George Bush Hwy. Suite 200, Richardson, TX 75082.

Whether you wish to work on improving your own balance or you are an instructor interested in adding balance training to your water fitness class, there lots of exercises to choose from. I hope you’ll join us.

See you in the pool!

IMG_4509